
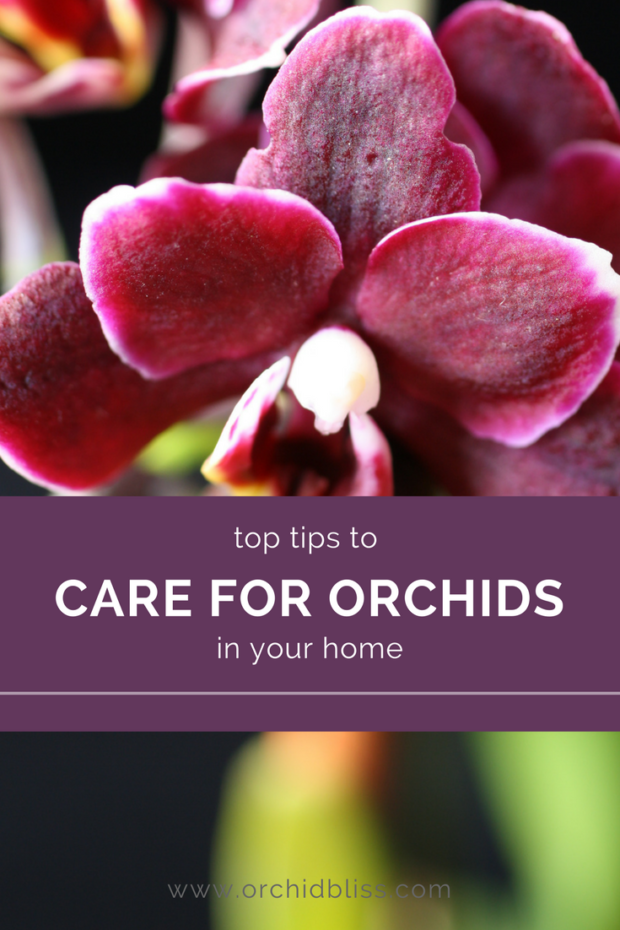
Discover how to care for orchids. Let’s keep this simple. If you can meet just three core care requirements – temperature, light, and water – your orchid will thrive. Promise.
To successfully care for your orchid the most important consideration is the location – where you will put your orchid. To determine location there are just three considerations: temperature, light, and water – including humidity. These three pillars of orchid care trigger flowering and promote overall health.
Let’s keep this simple. If you can meet just three core care requirements – temperature, light, and water – your orchid will thrive. Promise.
Some of the links on this page may be affiliate links. Click here to learn more.
First, think of temperature as the messenger.
Cool temperatures signal that it’s time for the orchid to hunker down and rest, while warm temperatures tell the orchid it’s time to grow roots, leaves, and, best of all, flowers.
Second, for orchids and all plants, light is energy.
Flowering takes a lot of energy and without enough stored energy your orchid may grow beautiful leaves and even a healthy root system, but it may fail to flower.
Third, remember, water the roots – humidify the leaves.
Just as temperature tells the orchid when to rest and when to grow, water sends a similar message. Most cultivated orchids come from climates with varying degrees of wet and dry seasons. During the wet season, orchids grow, and during the dry season, they stop.
Water to the roots is just as important as water to the leaves. Remember, when watering leaves, water in the form of water vapor – humidity. Orchids lose water through their leaves as they expel oxygen and absorb carbon dioxide. Without enough humidity, the orchid may shed leaves and go dormant.
Once you have a solid handle on what your growing environment is like, you’ll be able to choose an orchid that fits your environmental description, and if it doesn’t, I’ll show how you how to tweak your growing environment so you can grow healthy orchids.
1- Begin by Growing Orchids with Temperature Needs You Can Easily Accommodate
Really, between temperature, light, and water, always begin with temperature. I say this because the temperature is the one element you have the least control over. This is true even for greenhouse growers equipped with heaters and air conditioning.
For example, growing orchids that require 55F / 12.7C temperatures is prohibitively costly for Florida greenhouse growers. Why foot the energy bill when these same growers can grow a magnificent array of orchids perfectly suited to their tropical climate?
Orchid Grower Types
Orchids are commonly classified into one of three temperature groups – Warm, Intermediate, and Cool-growers. Though crossing over into more than one temperature group is not uncommon. For example, phalaenopsis orchids are warm-growers with about a month of intermediate temperatures.
Here are the three basic temperature ranges for orchids.
Warm Growing Orchids | Warm-Intermediate Growing Orchids | Intermediate Growing Orchids | Cool Growing Orchids |
 Dendrobium phalaenopsis  Dendrochilium  Ludisia - Jewel | 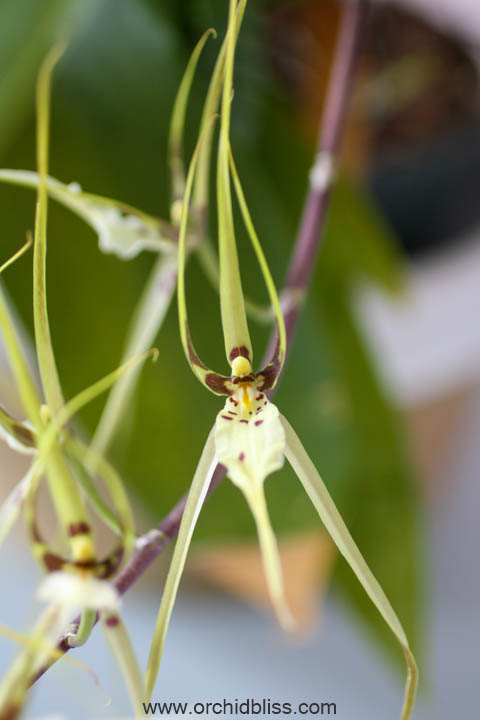 Brassia 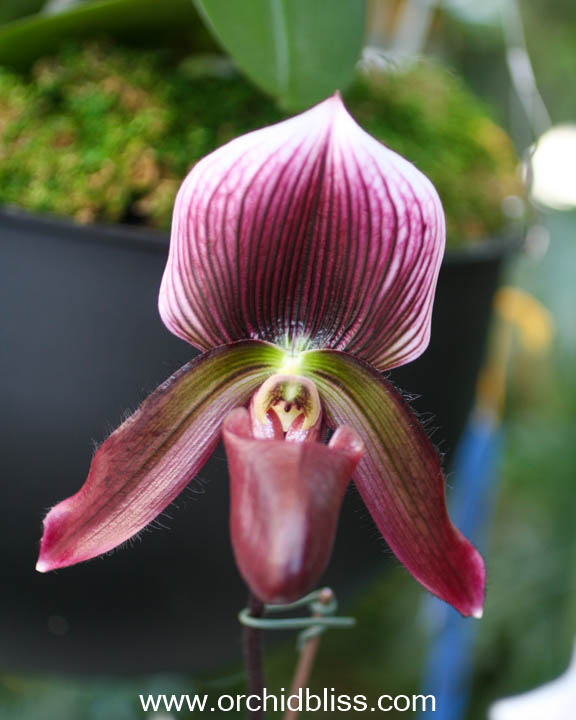 Paphiopedilum - Slipper 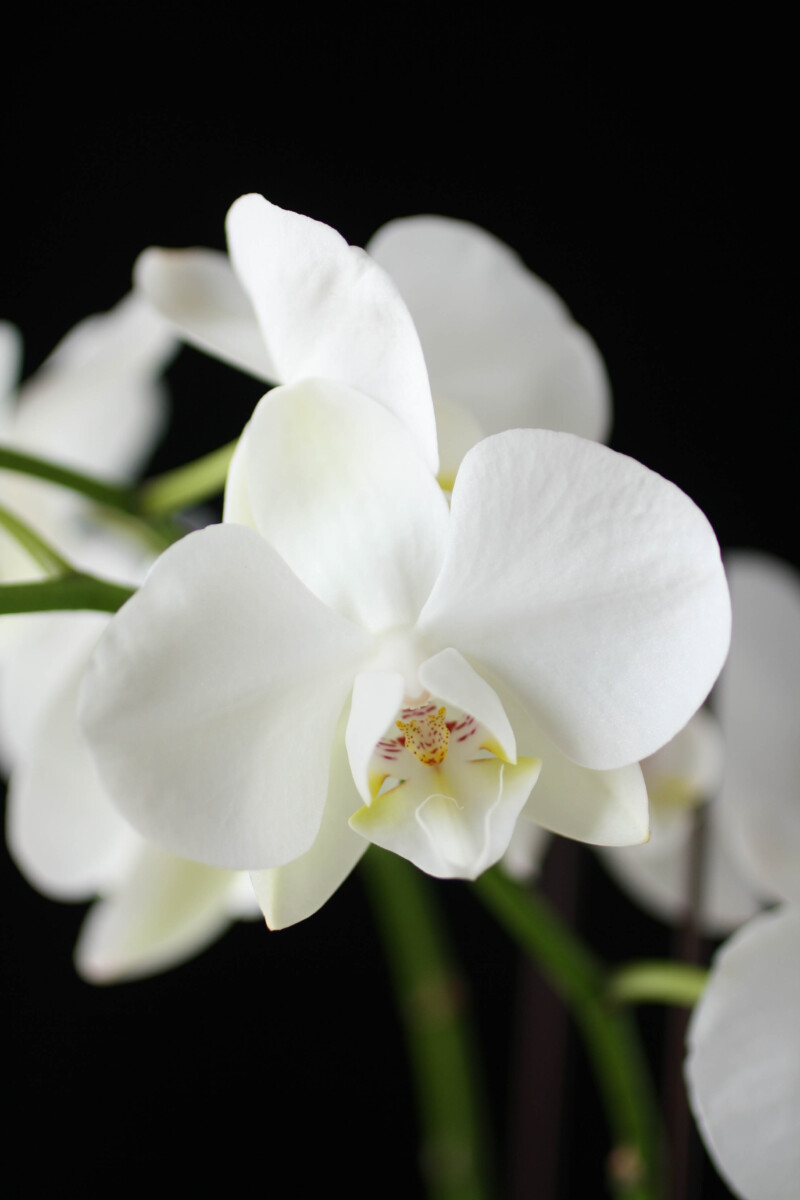 Phalaenopsis | 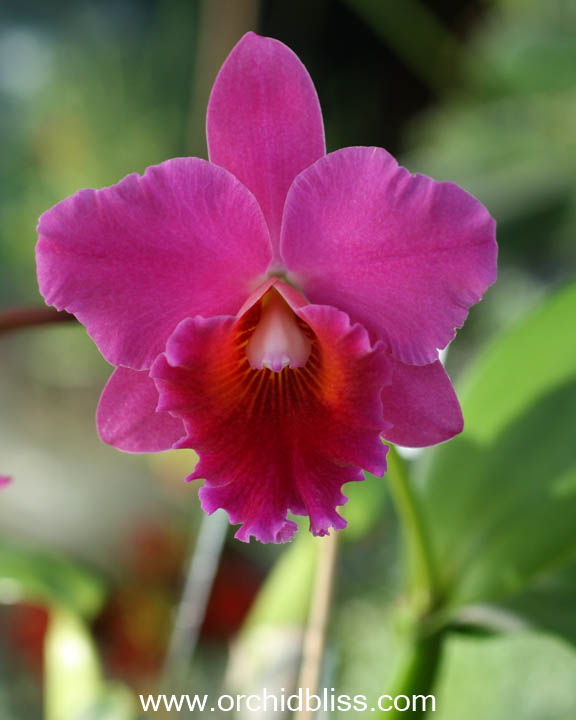 Cattleya  Miltoniopsis  Zygopetalum |  Standard Cymbidiums
|
To make it easy on yourself to grow orchids that will easily flower, choose orchids that most closely correlate with temperatures already present, or are easily accommodated in your home, greenhouse, or outdoors.
Because temperatures are never guaranteed, here are a few ways you can manipulate temperatures.
A- Use a fan to moderate temperature.
Air circulation is very important. Not only does it help to prevent disease, but it also helps to regulate the temperature. Orchids near a window can get too hot or too cold. Thankfully, a fan will help to moderate the temperature, cooling, or warming, the air near the window.
If you have a ceiling fan, that’s a great way to add air movement. If not, do what I do and turn on a portable fan. Set the fan to its lowest setting and point the fan away from your orchids. This gives the orchids a nice gentle breeze and they feel like they’re in paradise. Temperature is moderated and chances for bacterial and fungal growth are significantly reduced.
B- Crack a window to accommodate an evening temperature drop.
Orchids grow best with a slight temperature drop in the evening. One way to do this is simply to crack a window if it’s not too cold outside.
C- Create a microclimate with a seed mat.
Some orchids are very sensitive to temperature drops below 60F / 15.5C. If you live in a 4-season climate or have the air conditioner cranked up your orchid growing climate may drop below a comfortable growing temperature for your orchids, a seed mat is a reliable way to keep your orchid’s roots warm.
A seed mat will help to stabilize temperatures immediately around the orchid. Additionally, if you use a smart plug, you can have the seed turn on during the day, and automatically turn off at night. In this way, you will accommodate a nighttime temperature drop. The seed mat stays at around 70F / 21C.
2- Orchid Care Is Incomplete Without Sufficient Light
First, know your orchids’ light needs – then give them what they need.
Thanks to artificial lighting you don’t need to be quite as fussy when choosing your orchids based on their light requirements. You just need to know what they are and to be prepared to give your orchids enough light. If necessary, be prepared to provide artificial light.
All orchids need light, but some orchids require almost full sun and while others do best in bright light.
For most orchids an east-facing window is ideal. This way orchids receive morning sun, but not the intensity of a west-facing window. At the same time, a south-facing window can also be ideal. The idea is that you can always take away light intensity by adding a sheer curtain or by moving the orchid away from the window.
Orchid Light Spectrum
I like to think of orchids on a high-to-low light requirement spectrum. If you are interested in a particular type of orchid, ask the seller how much light that orchid needs compared to a Cattleya (high light requirements), a Brassia (moderate light requirements), and a Phalaenopsis (low light requirements).
Use this handy table to help you decide which orchids will do best.
Genus | Foot Candles | Lux |
| Brassia | 2000 - 3000 | 21528 - 32292 |
| Cattleya | 2000 - 4000 | 21528 - 43055 |
 Dendrobium | 1500 - 5000 | 16146 - 53819 |
| Paphiopedilum | 1000 - 2000 | 10764 - 21528 |
| Phalaenopsis | 1000 - 1500 | 10764 - 16146 |
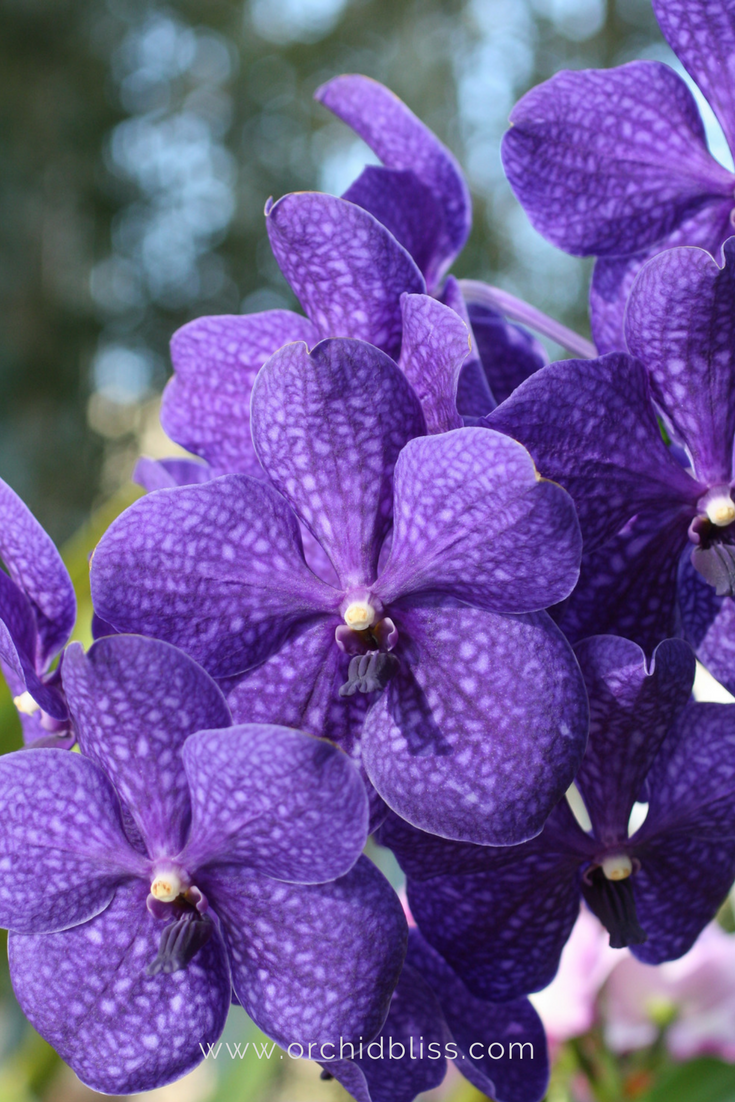 Vanda | 4500-5000 | 48437 - 53819 |
How to Measure Light
Light for orchids is measured in foot candles and lux.
A foot candle (fc) is simply the amount of light emitted from 1 candle 1 foot away.
Lux is the metric system for measuring light intensity.
The easiest way to measure the light in your orchid’s growing space is to download an app on your phone that will give you a reading.
High Light Orchids
For those us caring for orchids at home, it’s important to give these orchids as much diffused light as possible. An east, west, or south-facing window with a sheer curtain is ideal.
Moderate Light Orchids
Several hours of bright light will do the trick for these orchids. South, east, or west windows will work as long as the orchids are protected from direct light.
Low Light Orchids
Any window will do for these orchids as long as they are protected from direct light. If their leaves become discolored from too much light bring them a few more inches away from the window or hang a sheer curtain.
Light – Orchids – and Real Life
Above I have described ideal light conditions. For the record, I care for most of my orchids in my home in an east-facing window supplemented with artificial lights. I have wide eaves over my other windows, so my light is best on the east side. I just place orchids that require more light closer to the glass and those with lesser light requirements farther away. On another table, I have artificial lights, both fluorescent and LED.
My point is that even when conditions aren’t ideal you can make it work. I have a friend that grows moth orchids in a south-facing window in her classroom. Because another large building is across from her classroom her low light orchid does just fine in a south-facing window without a sheer curtain.
Most orchids can be grown under artificial light. When caring for orchids at home, don’t let the lack of light stop you from growing orchids. This is the grow light system I use and my orchids have rebloomed and thrived with these lights.
3- Best Practice Orchid Care – Water for Roots & Humidity for Leaves
Water orchids in two ways. First, water your orchid’s roots. Second, water your orchid’s leaves – humidity.
Most people get that they need to water their orchid’s roots, but understanding an orchid’s need for humidity can be a revelation. Still, learning how to water is a balance. A balance you can learn.
Most orchids die because they’ve been over-watered. Learning to properly water is especially important when caring for orchids indoors.
A- Watering Orchid Roots
Although water requirements vary, here are a few tips to get you started. Generally, thin-leafed orchids need water more often than thick-leaved orchids. Also, dormant orchids need less frequent watering.
You will know if your orchid is dormant because you won’t notice any leaf or root growth, or any flowers. The orchid is simply resting, gearing up for the next growth and flowering cycle.
TIP: If possible, learn the name of your orchid, the genera, and the species, so you can fine-tune the needs of your orchids.
This is how I determine if my orchids need water: first, I check the potting media of each orchid before watering it. If the media is still damp, I don’t water it. This is especially true for orchids planted in sphagnum moss because moss really retains water. If your orchid has a plastic inner pot, examine the pot for condensation.
After a while, you will get into a watering rhythm.
Here are a few tips that will help you while finding your orchid watering sweet spot:
- Orchid roots do not like to sit in water. This is especially true for dendrobiums.
- By the same token, phalaenopsis (moth orchids), miltoniopsis (pansy orchid), and paphiopedilum (lady slipper) do not like to dry out. The potting media should be kept just barely damp – never soggy.
- Don’t water because it’s watering day, first check the potting medium. If it’s still wet, wait.
- More orchids are killed by overwatering than by underwatering.
- Most orchids need water when the potting media is almost dry.
B- Watering Orchids Leaves Via Humidity
I understand that you are likely caring for your orchids at home, not in a greenhouse. That’s me too. While providing adequate humidity is important, if growing in your home, it is equally important not to over-humidify.
We want to grow orchids, not mold. I have had the most success using a humidifier and a fan. The humidifier provides humidity and the fan helps prevent disease and mold.
I use a humidistat to track my humidity levels. For all my orchids, I try to keep my humidity levels at 50%. That’s on the high end for what is recommended for a home, and the low end for what is recommended for orchids. It’s not perfect, it’s a compromise.
TIP – This is really important! Using a spray bottle is a popular way to water orchids. Spray bottle misting is beneficial, IF done properly. Use a spray bottle to mist your orchid’s roots NOT leaves. This is especially helpful if your orchids are mounted. Regularly misting the roots will help your orchid stay hydrated. On the other hand, misting the leaves only encourages bacterial and fungal infections. Rather than misting the leaves, use a humidifier to hydrate the air.
3 pillars of excellent orchid care: Temperature, Light, and Water
Providing proper temperature light and water are vital to growing healthy orchids because they are what encourage the orchid to really thrive. In other words, proper temperature, light, and water mimic the orchid’s natural environment.
Think of it this way. Life is a series of chemical interactions. Good health results when these chemical interactions perform in the best possible way.
Level Up Your Orchid Care with Fertilising, Re-Potting, and Treating Pests and Disease
Once you have provided your orchid with a healthy home there are three more things you can do to up the ante to grow truly amazing orchids:
- Fertilizing
- Re-potting
- Diagnosing, and treating problems such as pests and disease.
1- Fertilize Your Orchid Sparingly
When it comes to fertilizing orchids, less is more. The salt build-up, the carrier for the minerals found in fertilizer, is really bad for orchids.
But wait! If fertilizer salts are so bad for my orchid, shouldn’t I avoid fertilizer altogether?
The short answer is Nope. If done the right way fertilizer will help your orchid grow larger, more abundant flowers, a stronger, vigorous root system, and healthier leaves.
Here’s how to fertilize your orchids properly.
The common refrain for fertilizing orchids is weekly weakly. One week in four, or even 2 weeks in 4 do not use any fertilizer. This will help to flush out the salts in the potting media. Be sure to dilute the recommended dosage by 1/2 to 1/4 strength.
When fertilizing, it’s just as important to know when NOT to fertilize:
Stop fertilizing your orchid if:
- Your orchid goes dormant. Some orchids are from climates that experience a dry season and a wet season, rather than winter and summer. If this is the case for your orchid, wait until the wet season (spring) to begin fertilizing. When purchasing an orchid, always ask the seller if the orchid what kind of winter care your prospective orchid requires.
- Your orchid is sick and needs some extra TLC. After your orchid recovers, begin fertilizing again.
- A new flower spike emerges. Flowers are the most sensitive part of the orchid. Resume fertilizing once the buds open.
Orchids require both macro and micronutrients. Fertilizers are labeled with three numbers that represent the percentage of macronutrients they contain – the percentage of nitrogen, phosphorous, and potassium. To make sure your orchids get micronutrients, look for a fertilizer label that says complete.
Decoding Fertilizer Labels
- 1st number refers to nitrogen.
- Promotes healthy leaves.
- Use when you see new leaves begin to grow.
- Recommendation: 9-3-6
- 2nd number is for phosphorous.
- Encourages flowers.
- Use before the flower buds appear. For example, if I wanted to fertilize for flowers in a winter-blooming cymbidium, I would begin fertilizing at the end of fall before the flower spike had begun to grow.
- Recommendation: 3-12-6.
- Note: once the orchid is prepared to bloom, return to a balanced fertilizer.
- 3 number stands for potassium.
- Supports a strong root system, including the overall well-being of your orchids. Potassium also helps to fight pests and diseases and bounce back from unfavorable conditions such as cold and drought conditions.
- Use when roots are forming.
- Recommendation: 0-0-3.
2- RePotting Is Important
When caring for orchids at home, many people wonder if they ever need to re-pot.
They do!
I have a full post about when to repot orchids and how to repot orchids.
To get you started, here is a simple overview to let you know if the time is right to re-pot orchids.
Do Pot:
-
- When the flowers have all died.
- Before the medial breaks down. A good quality potting mix should last 1-2 years.
- If you have purchased a new orchid and you want to check out the root system.If you see new roots growing. – This is especially important. If your orchid is growing in sphagnum moss and you’d like to switch to a better potting medium.
Don’t Pot:
- If your orchid is still flowering.
- If your orchid is dormant.
- A Dendrobium. Only re-pot a Dendrobium if you absolutely have to. They do not like their roots to be disturbed.
3- How to Prevent – Identify – Treat Common Pests and Disease
While orchids are relatively healthy plants, there are a few things you should know about them. The most effective way to treat pests and diseases is prevention.
Good orchid culture will save you time, money, and heartache.
Provide Air Movement – Use a Fan
Preventing bacterial and fungal infections is so simple, so be sure not to overlook it because it’s so easy.
Discourage bacterial growth and fungal infections with good, constant air movement.
If you are serious about growing healthy orchids, invest in a small, portable fan.
Turn the fan to the lowest setting and point it away from your orchids so that the air doesn’t point directly at your orchids.
Here’s why air movement is key to disease prevention.
Orchids need humidity to thrive. Tiny pores in an orchid’s leaves, called stomata release oxygen and water. These pores also absorb carbon dioxide and water. If there is not enough water in the air, the orchid dries out.
But, orchids aren’t the only ones who thrive in humid conditions – so do fungi and bacteria. The antidote is air movement. So don’t neglect a fan.
How to Identify and Treat Fungal, Bacterial, Sunburn, and Viral Infections
Fungus and Bacteria Happens. If you suspect fungal or bacterial infections, no worries, I’ll show you how to diagnose and treat these common hiccups in orchid care.
Diagnosing Fungus and Bacteria
- Soft brown or black spots on leaves
- An unpleasant odor
Treating Fungus and Bacteria
- Increase air movement
- Use fungicide if the problem is rampant
Diagnosing Sunburn
- Collapsed leaf tissue that within a few days turns brown
Treating Sunburn
- Using sterilized shears, cut away the burned part of the leaf
Diagnosing Viruses
- Black or brown streaking on new growth
- Misshapen flowers
Treating Viruses
- Viruses cannot be cured.
- Dispose of orchid.
- Control spread by always using sterilized tools.
- Keep disease-spreading pests, sucking insects such as aphids, under control.
How to Identify and Treat Common Pests
Some insects are called pests for a reason. If you suspect pests on your orchids, here’s what to do.
NOTE – Sanitize tools when going from one orchid to another – especially when treating pests and disease.
Identifying Scale
- Hard light brown, yellowish bumps on leaves and stems
Treating Scale
- Treat with insecticide or use a toothbrush and rubbing alcohol to remove
- Trim away old sheaths, leaves, and flowers
Identifying Aphids
- Green or brown insects on new growth
Treating Aphids
- Spray off with a jet stream of water
- Use an insecticide if necessary
Identifying Mealybugs
- Cottony webs tucked in leaves and flowers
Treating Mealybugs
- Spray off with a jet stream of water
- Use an insecticide if necessary
Identifying Spider mites
- Pitting on leaves
- Very tiny spiders
Treating Spider mites
- Use horticulture oil
- Introduce beneficial, predatory mites
How to Care for Orchids Bonus – Flowers, Leaves, and Roots
And that, my friend, is the secret to good, solid orchid care. First, provide the proper growing environment with the right temperature, light, and water. Then, follow up with fertilizer and re-potting along with knowing how to prevent, diagnose, and treat pests and diseases.
If you find that you still have questions, read on. Here’s an in-depth look at orchid flowers, roots, and leaves.
Orchid Flowers
When caring for orchids, the end goal is to grow healthy orchids that reliably bloom.
- After the orchid has finished blooming and the flowers are spent you can cut off the flower spike. CLICK HERE, to find out more about where to cut the orchid flower spike.
- Some reasons an orchid won’t rebloom include a lack of light or wrong temperatures – usually lacking a cool rest. CLICK HERE, for more information on how to rebloom orchids.
- Dropped, withered flower buds, called bud blast, is the result of an unfavorable environmental factor. CLICK HERE, to learn how to prevent bud blast.
- A little plantlet growing on an orchid’s flower stalk is called a keiki. These offsets are exact clones of the mother plant. CLICK HERE, to learn more about keikis.
- Problems with the flowers. CLICK HERE, to learn more about treating pests and disease.
- Streaked = could indicate a virus
- Black/brown spots = could be a bacteria called Botrytis
- Malformed = could insect (aphid, thrip) or pest (snails or slugs) damage, environmental stress, or even a virus, particularly when accompanied by streaking.
Orchid Roots
Familiarity with the orchid roots is like peering into the orchid’s soul – they tell you everything. Here’s what you can learn about your orchids just by their roots:
- Limp, lifeless roots = too much water
- Tan, brittle roots = not enough water
- Bright green roots = just watered/wet roots
- Silvery green or white roots = dry healthy roots
- Thick roots = use an open potting mix with large, coarse pieces
- Fine roots = use fine potting mix
- Black root tips = fertilizer salts in potting mix or pot, especially terra cotta, are high
- Lots of aerial roots, roots that do not grow down into the potting mix = potting mix is decomposing
Orchid Leaves
Being able to correctly interpret leaf symptoms and properly treat them will help you to grow healthy orchids.
- Color – light green, rather than dark green indicates sufficient light.
- If limp orchid leaves are a problem for your orchids, download my free cheat sheet on how to prevent limp leaves and rotten roots. Click here for the super helpful cheat sheet.
- Accordion, pleated leaves = indicate a lack of humidity. These leaves will never straighten out, but you can prevent more pleating by increasing humidity around your orchids.
- Brown hard bumps = uh oh, could be scale, particularly if they come off when wiped with a cotton swab soaked in rubbing alcohol. CLICK HERE, to learn how to treat scale.
- Brown or black spots = sound like a bacterial or fungal infection. Increase air movement. If the leaf tissue is collapsed, it could be a sign of sunburn. Remove the damaged leaf with sterilized shears and move the orchid further away from the light source.
- Brown leaf tips = salt buildup. Flush fertilizer salts with lots of water. Leach salts by soaking orchid in distilled water for several minutes. Repeat one week later. This is a good indicator that it is past time to re-pot your orchid.
Notice how many of the orchid problems relate back to temperature, light, water, fertilizer, potting, and pests/disease.
Remember, with orchid care, it is all about the journey. Now you have the know-how to successfully navigate orchid care. Begin with a solid, orchid-friendly growing environment and go from there. Fiddling and tweaking are all a part of the fun.
No giving up! You’re in this for the long game.
I wish you the best in caring for these beauties!
