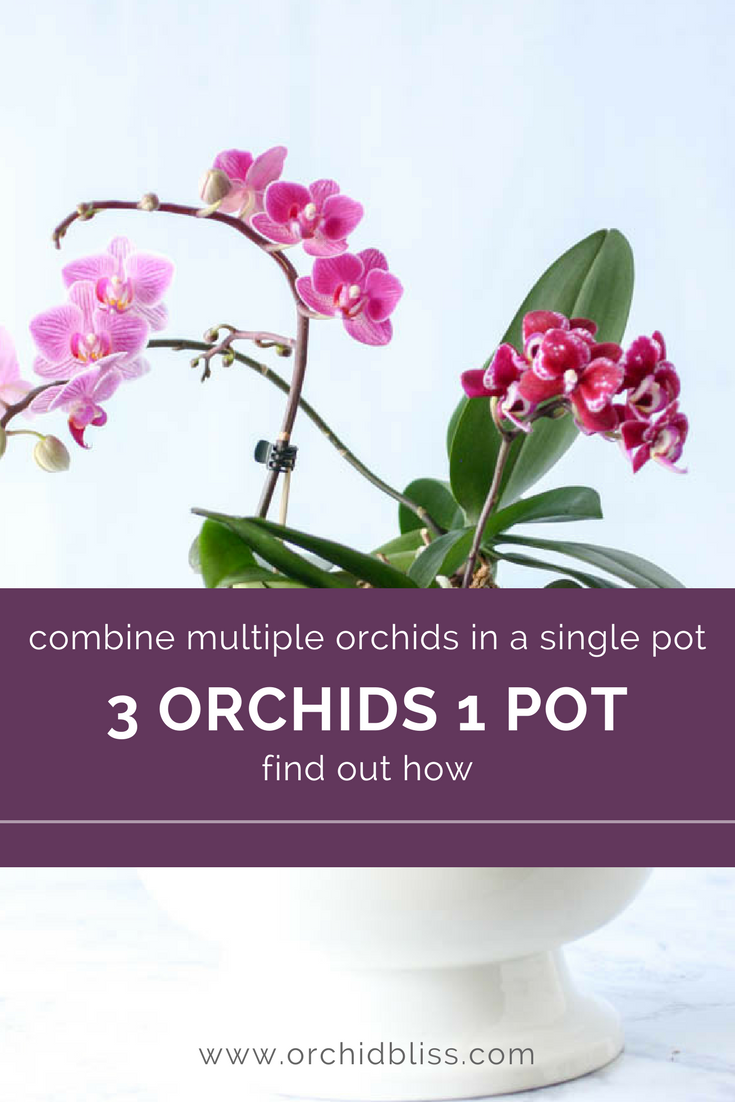
Easy Was Never So Beautiful
I’ve been asked how to add multiple orchids to a single pot. The answer I’ve always given is: for best results keep the orchids in their plastic liner pots then set multiple orchids into a larger pot. This way several orchids can be cared for individually. Most importantly, each orchid can be removed for proper watering. While I still subscribe to this idea, I have a new take on how to display multiple orchids in a pot.
IMPORTANT: Potting multiple orchids in a single pot is intentded as a short-term arrangement. For long-term care, pot your orchids separately.
Prepare the Orchids
Begin by preparing your orchids to look their best when on display. For the full article on prepping your orchid for display, click here.
- Trim away dead leaves, aerial roots, and pseudobulbs
- Clean the leaves and pseudobulbs
- Check for pests and disease
- Use a top dressing
- Stake the flower spike
- Water your orchid
Gather Your Materials
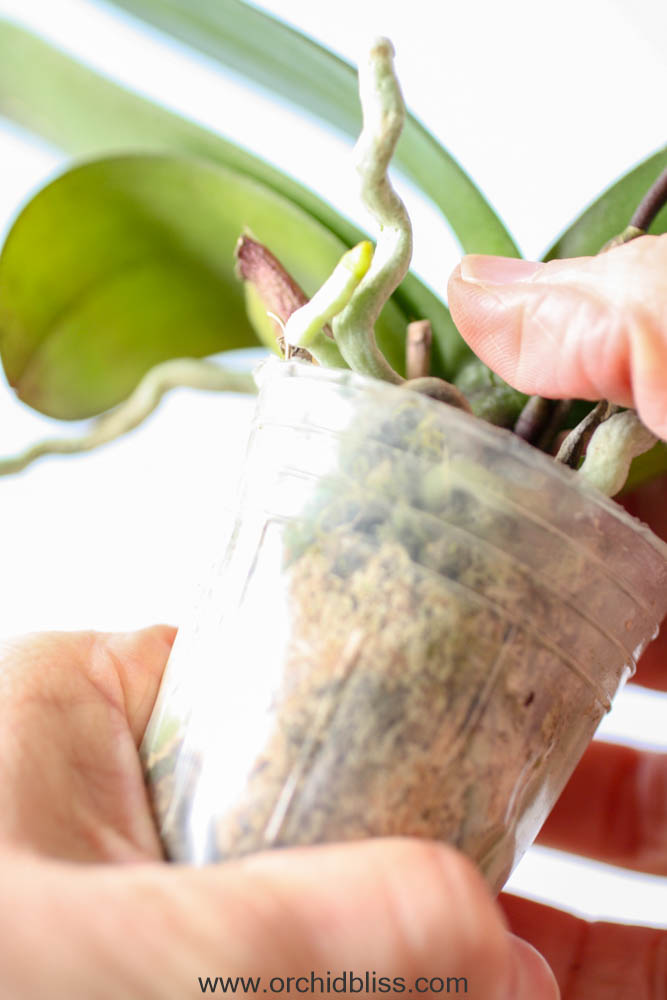
- Several orchids, potted in sphagnum moss. I recommend using the same variety as they will have the same care requirements. Consider orchids with different heights for a fuller appearance. Orchids all the same color have a strong visual impact.
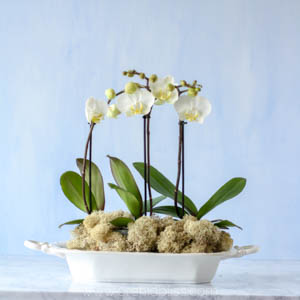
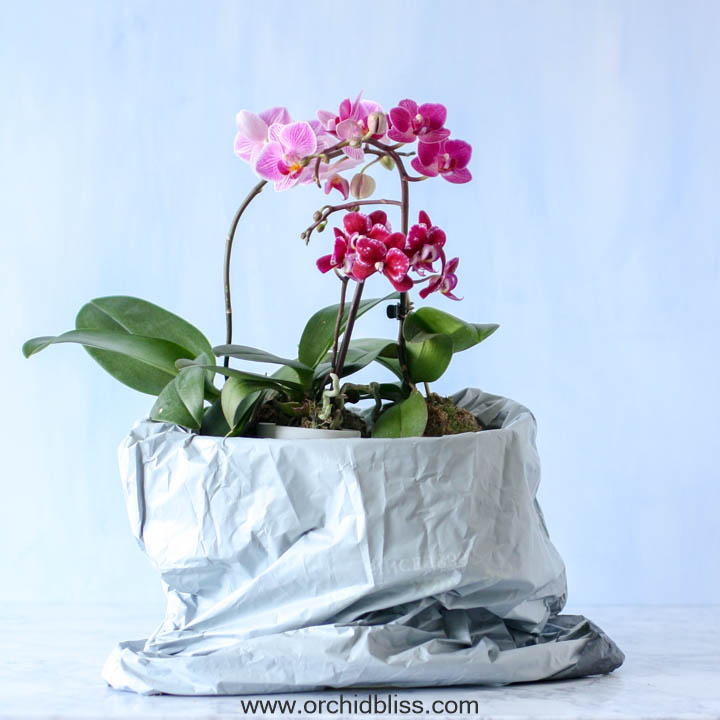
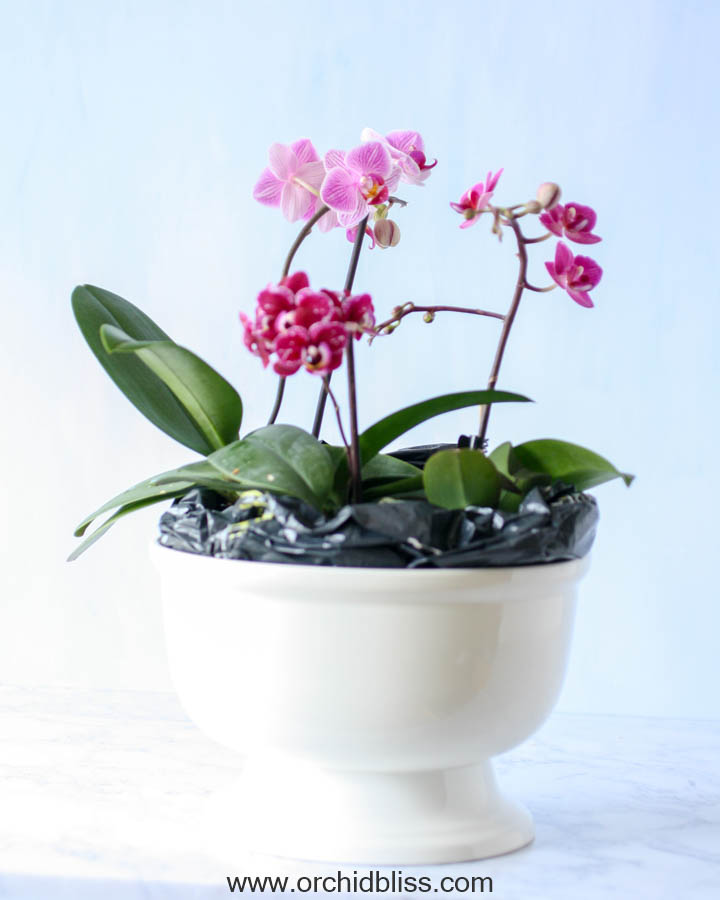
- A single pot. A pot with a flat base will make it easier to place the orchids the way you want them.
- A plastic bag large enough for all the orchids
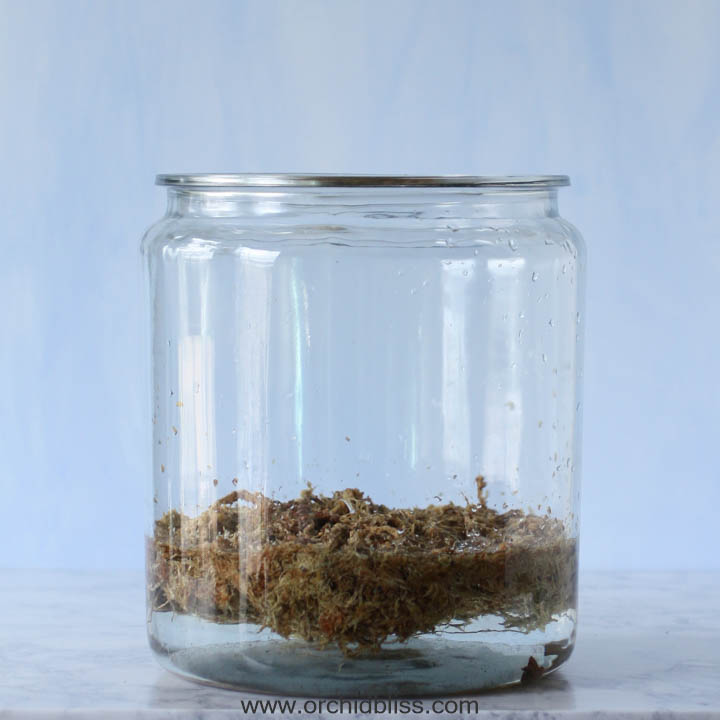
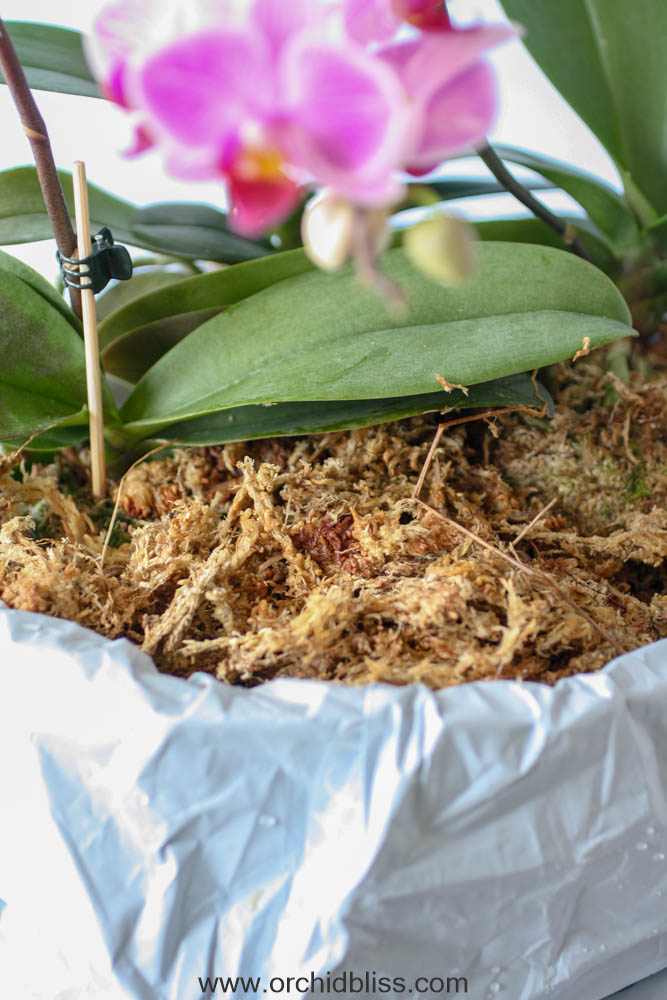
- Sphagnum moss
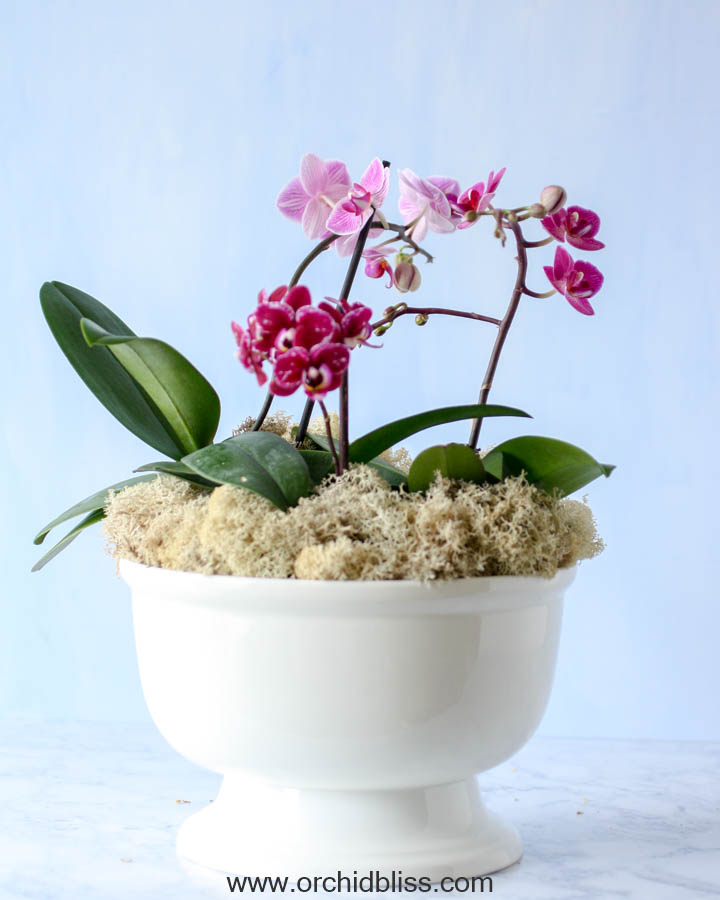
- Top-dressing: living or dried Spanish moss or reindeer moss. For my arrangement I used reindeer moss and needed two bags of the moss. Depending on the size of your arrangement, you may also need more than one bag.
- Newspaper for easy cleanup.
- A nearby trash can is always advisable.
Procedure
How to Water Multiple Orchids in a Single Pot
Sphagnum moss holds a lot of water, so you’ll need to be careful not to overwater your arrangement. You will only need to water it every couple of weeks or even once a month. Wait to water until the moss feels barely damp.
This is going to sound like a pain, but I suggest taking the arrangement apart to water it. If the orchids stick together in one big ball, water the entire arrangement together. Then allow for it to drain before returning to the pot. But, if the orchids come apart from each other, water them separately. Again, wait for the orchids to drain before returning to the pot.
You’ve Got This!
A truly amazing orchid arrangement is yours for the making! When one of the orchids goes out of bloom, you can replace it with another that’s ready to flower.
To help you further, start by downloading my free cheat sheet to see where to cut the orchid flower spike after blooms have faded to trigger re-blooming. Click here for the cheat sheet. It’ll be super helpful.
Key Points: Containers with a flat base are easier to work with. Orchids of the same variety and same color, but of different heights work best and have the greatest visual impact, and are easiest to care for.
Related Content