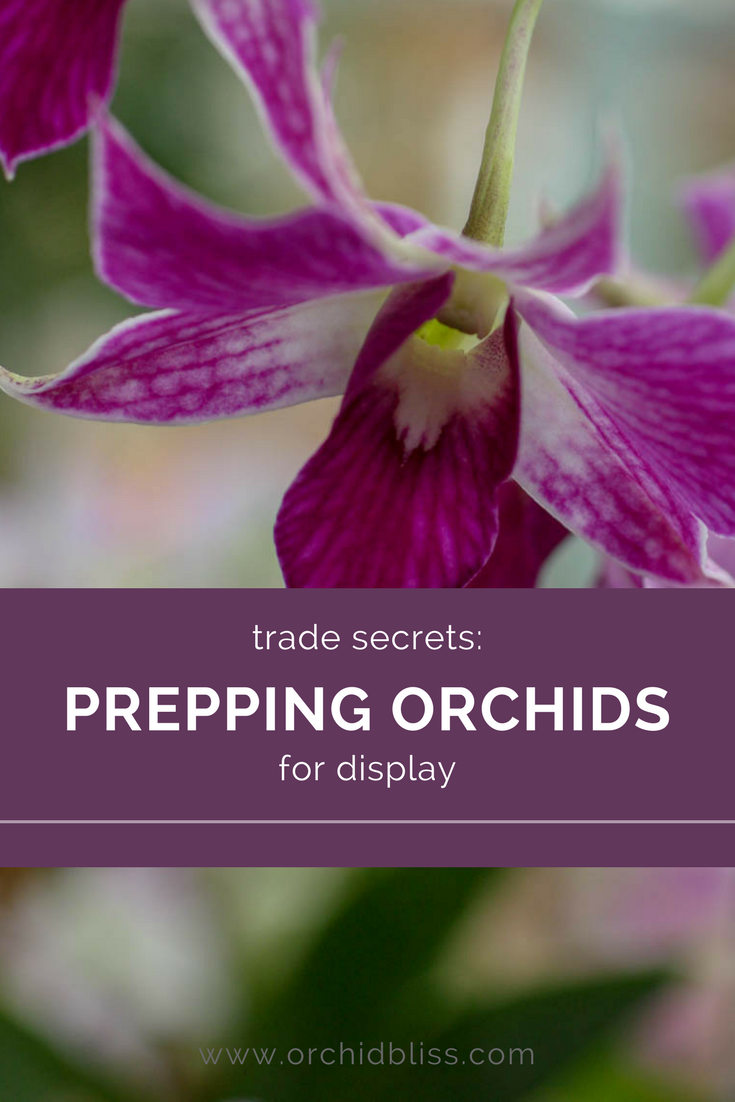
Trade Secrets, Right Here
Finally! Your orchids are in full bloom and you’re ready to show them off. Here are some practical tips when prepping your orchids for display.
Some of the links on this page may be affiliate links. Click here to learn more.
Prepping Orchids for Display
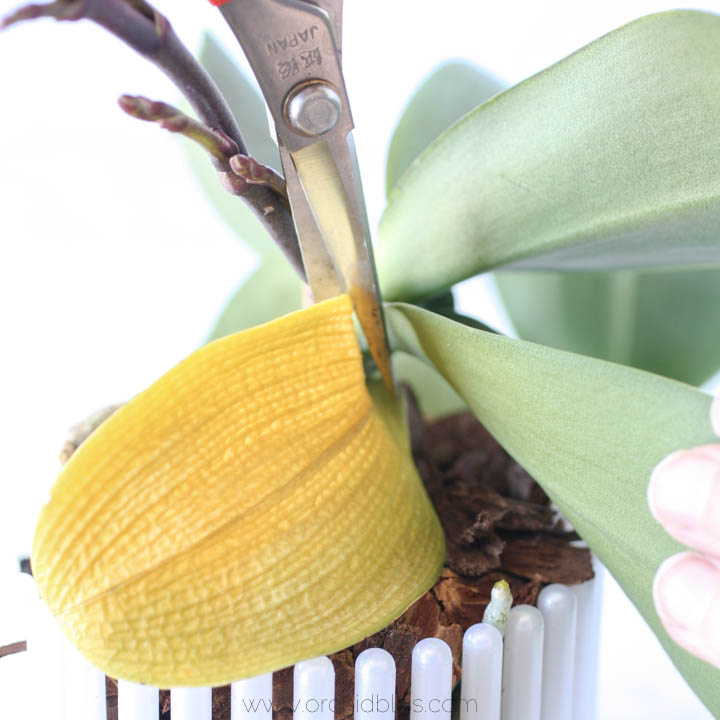
Trim Away Dead Leaves, Aerial Roots, and Pseudobulbs
Start prepping your display by trimming off dead leaves, pseudobulbs, and aerial roots. To remove the dead growth use disposable single-edged razor blades or pruning shears sanitized with a flame torch. To cut away brown leaf tips, cut at an angle following the pattern of healthy leaf tips.
When you’re finished fold duct tape over the sharp edge of the razor blades before throwing them away. If you are using a torch, pass the ends of the scissors through the flame after use.
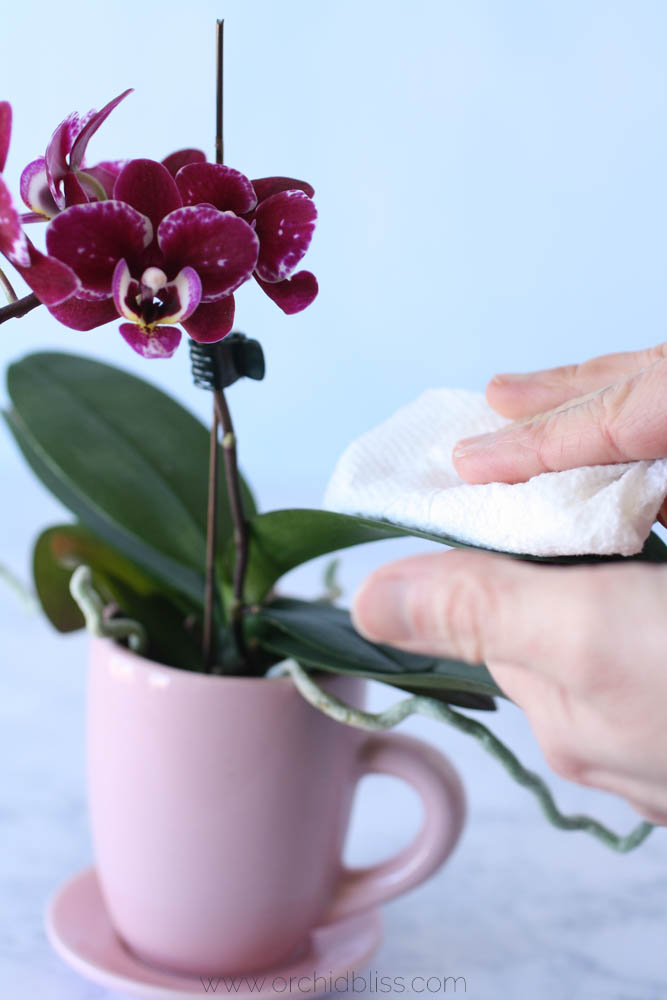
Clean the Leaves and Pseudobulbs
After trimming away dead leaves, roots, and pseudobulbs, begin cleaning the leaves and pseudobulbs. Using a soft cloth and 70% rubbing alcohol, lemon juice, white vinegar, or even diluted milk gently clean your orchid’s leaves. Avoid using commercial leaf shine.
When prepping orchids for display, you’ll be surprised by how much the little details, like clean leaves and pseudobulbs will enhance the overall effect of your arrangement.
Check for Pests and Disease
While prepping orchids for display, check for pests and diseases. Check the leaves and pseudobulbs for a white cottony substance, an indication of mealybugs. Hard, whitish bumps may mean scale. Check for other pests such as snails, slugs, and ants.
Brown spotting on leaves is most likely caused by bacteria.
If when prepping your orchid for display, you discover pests and diseases, be sure that you display your orchid only in your own home. Keep the orchid away from other plants.

Use a Top Dressing
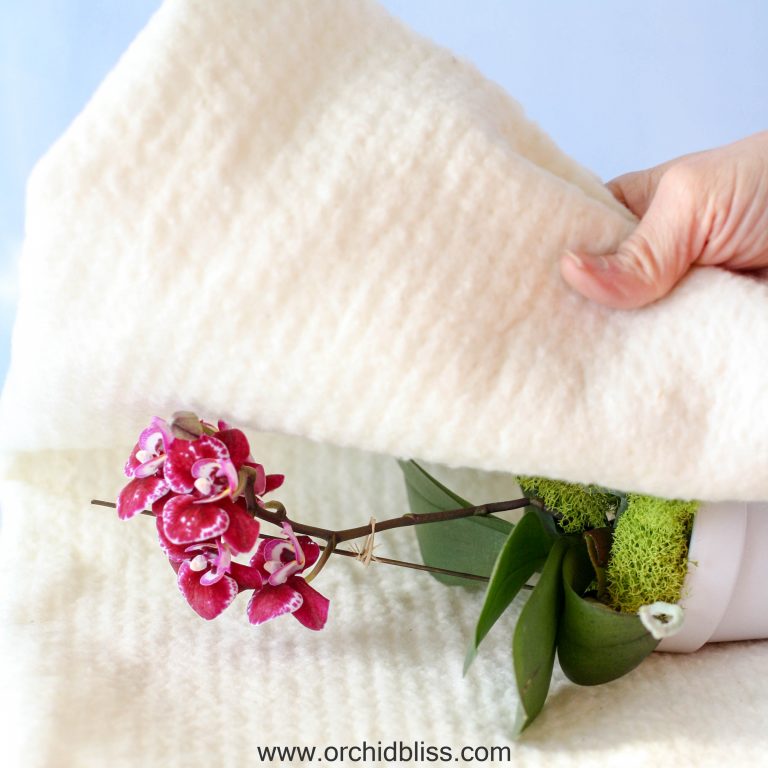
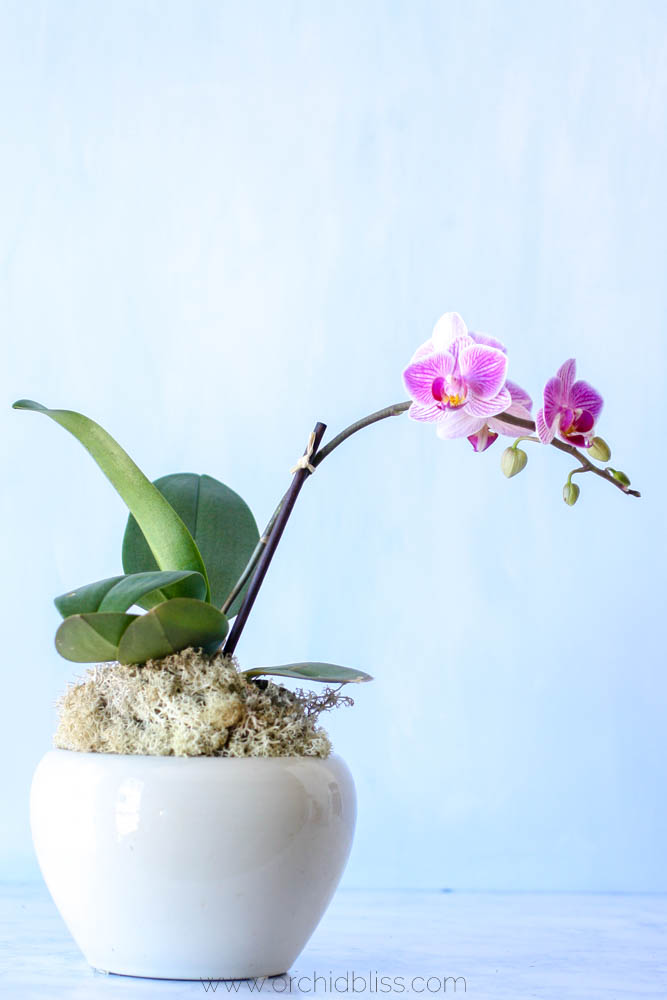
Now your orchid is ready for a top dressing. The right top dressing is important for a variety of reasons. If your orchid will be displayed near air conditioning or heating vents, a good top dressing will protect the roots from quickly drying out. Also, a top dressing will add to the aesthetic appeal of the arrangement.
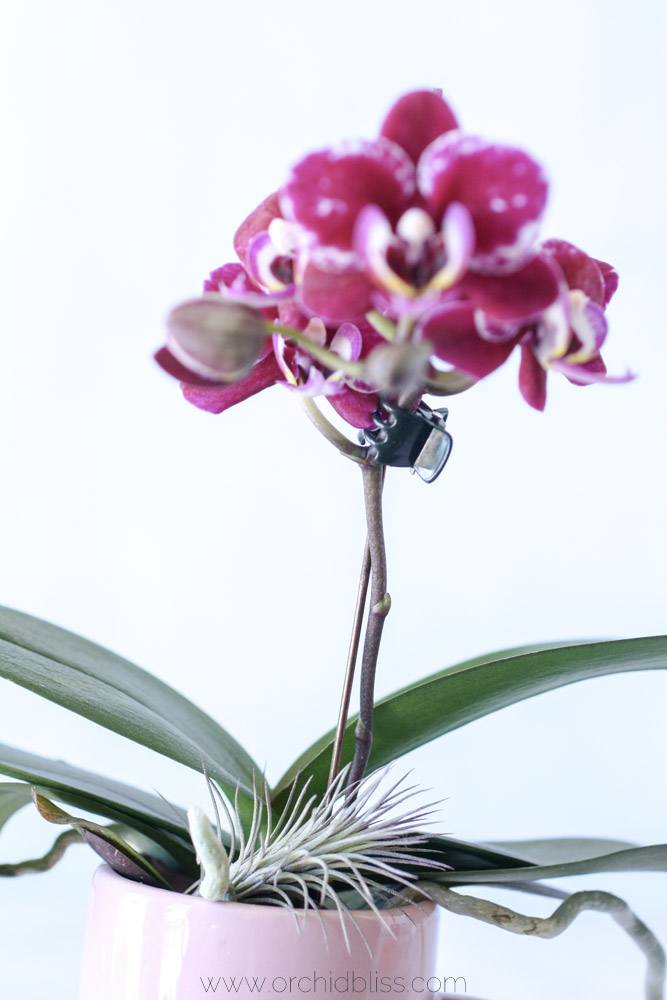
Air Plants as a Top Dressing
Air plants are a popular option at orchid shows. The most widely used is Spanish moss, which isn’t actually moss but is a Tillandsia, more commonly known as an air plant. Air plants add authenticity to the overall presentation of the orchid display. To keep the Spanish moss alive, submerge it in water once a week for a couple of hours.
An Inexpensive Top Dressing – Dried Spanish Moss
This is an easy-care option in lieu of live Spanish moss, as you won’t need to water it. Though when you water your orchids, you will want to remove the moss.
A Top Dressing That is Soft and Easy to Use: Preserved Reindeer Moss
This spongy moss comes in a variety of colors. It’s soft and tactile and will give a clean finish to your orchid display. When watering your orchids, remove and replace the moss.
Top Dressing – More Pricey, but Beautiful – Mood Moss
This living moss looks great and is easy to use. Nestle it in around your orchid’s roots and it will look like it’s always been there. This moss is available both living and dried.
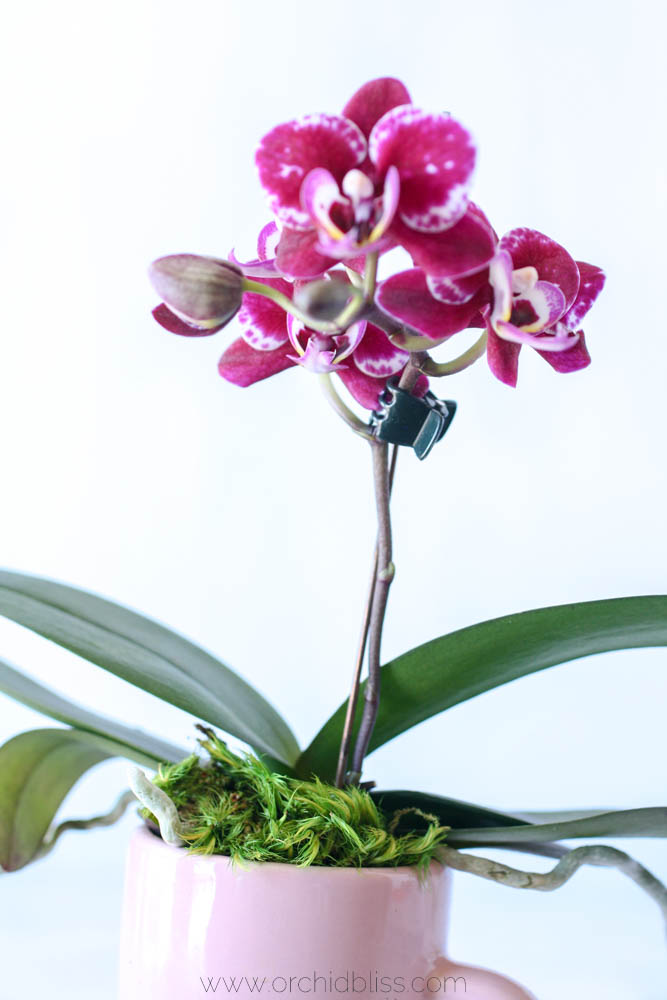
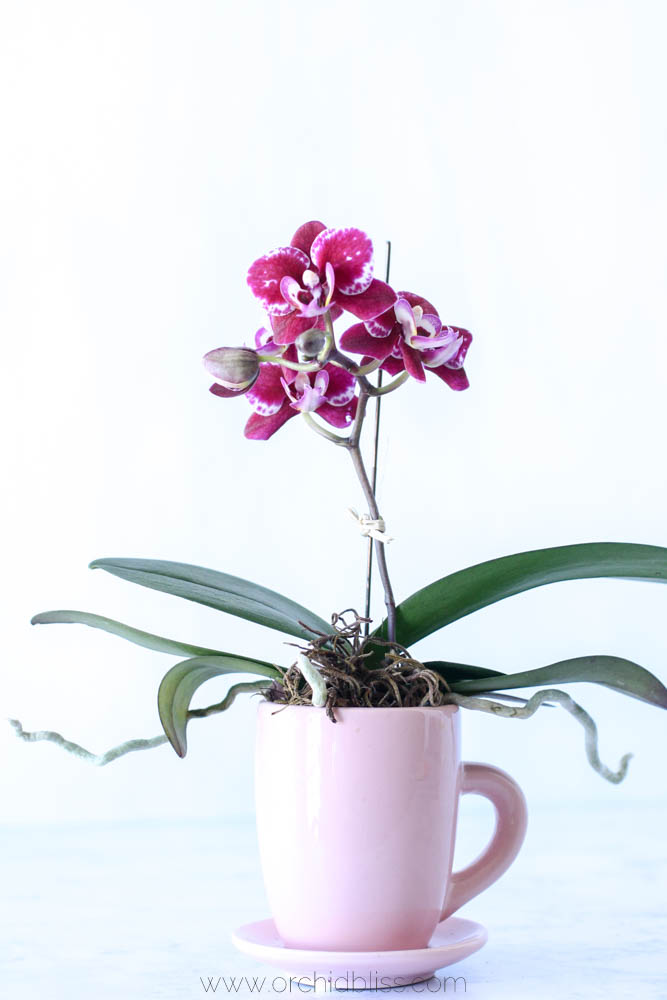
Stake the Flower Spike
Staking the inflorescence should begin when the flower stalk is young and malleable. The inflorescence includes the flowering part of the orchid, including everything from the flowers and buds to the flower stalk.
If the inflorescence has not been trained to grow upwards do not force it to do so now, as it will snap and break. If the inflorescence has been staked and is growing upwards, manipulate the stake so that the flowers are shown to their greatest advantage. When using a sake, be sure to select a length that suits the height of the orchid flower stalk.
The choice of stake will add a lot to the final presentation of the orchid. Here are a few options:
- A green stake is the most unobtrusive. If you’d like the stake to be camouflaged, this is the stake you want.
- Bamboo stakes are a pleasing compliment to the orchids and can add a coastal or Asian feel to the final display.
- An acrylic rod will add a distinctly modern element to your orchid design.
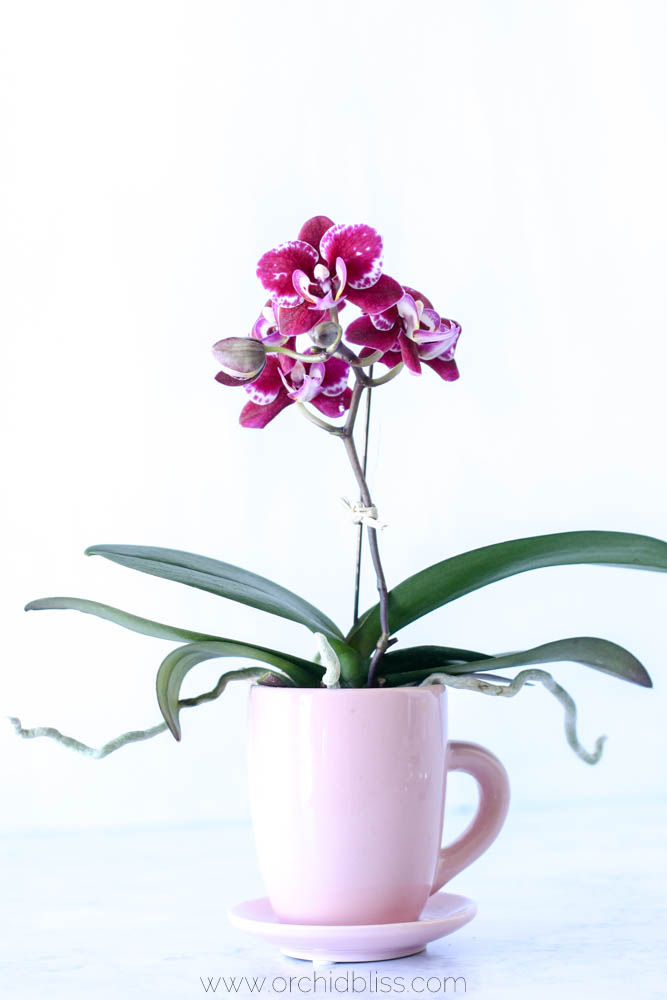
- Curly willow branches add elegance and interest to orchid arrangements. These branches look especially stunning when the orchid flower spikes are particularly long, such as can be found on the Phalaenopsis.
- Leave it be. Sometimes the natural elegance of the orchid looks best. If you’ve already trained the flower spike, it may now have hardened and will stand up on its own. And, if you didn’t stake the flower spike, in some cases it may be too late. Never force the flower spike to the spike as the flower spike may snap and break.
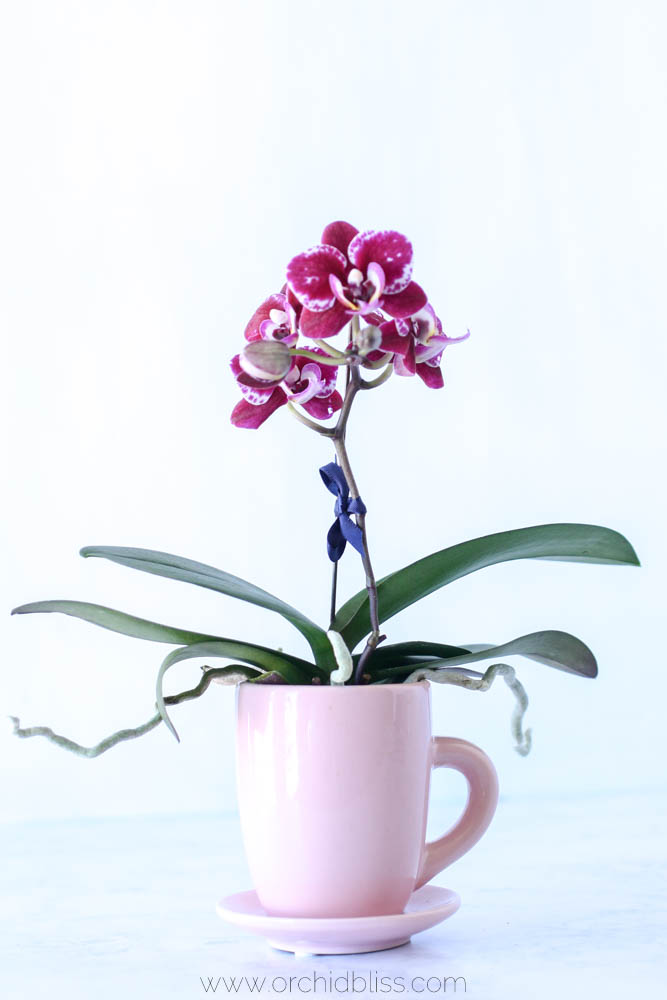
When staking, consider how you would like to fasten the orchid flower spike to the stake. Here are a few examples that have worked well for me:
To help you further, start by downloading my free cheat sheet to see where to cut the orchid flower spike after blooms have faded to trigger re-blooming. Click here for the cheat sheet. It’ll be super helpful.
Water Your Orchid
Give your orchid a good drink of water before going on stage.
Congratulations!
You’ve got insider tips and tricks for creating amazing orchid displays. With this solid foundation for prepping orchids for display, you are well on your way to creating top-notch orchid arrangements to grace your home and office. Orchid arrangements also make outstanding gifts.
Remember, trim off dead leaves and debris, clean the leaves and pseudobulbs, check for disease, choose and top dressing, select a tasteful stake and tie for the flower spike, if needed, and your orchids will be ready for the limelight!
If you’re not happy with your orchid’s leaves, improper watering is the likely culprit. Discover more about keeping your orchid’s leaves and roots healthy by grabbing your free cheat sheet. Click here to grab your cheat sheet to learn how to grow healthier orchids. It will be super helpful.
Related Content