3 Reasons to Pot Your Orchids + 4 Clues that Tell You When to Re-pot Orchids
Pottting at the right time vastly improves how well your orchid will adapt.
Potting orchids can be intimidating. But, if you know why and when to repot orchids, you’ll feel much for comfortable potting. More importantly, your orchid will recover from this essential, yet uncomfortable process much more quickly.
Why Re-Pot Your Orchids
- Orchid potting mixes breakdown
- Potting mixes absorb fertilizer salts
- Orchids with healthy root systems outgrow their pots
When to Re-Pot Your Orchids
- Re-pot before you need to
- After flowering is complete
- When roots and leaves are growing
- Know when potting is an emergency
Potting an orchid is fascinating. Orchid roots are thick and firm, not the web of tiny roots of other plants. Even finely-rooted orchids such as oncidiums are not as thin as most other garden plants.
When the potting mix begins to break down, you may notice your orchid leaves going limp, and the leaves starting to rot. To keep your orchids looking their best, the first step is to prevent limp, leathery leaves and rotten roots. Download my free cheat sheet on how to prevent limp leaves and rotten roots. Click here for the super helpful cheat sheet.

Some of the links on this page may be affiliate links. Click here to learn more.
The WHY of Potting Orchids: 3 Reasons to Pot Your Orchids
New potting media will give your orchid a fresh start in clean media that is best suited for your orchid’s overall well-being.
# 1 Organic Orchid Potting Mixes Breakdown Depriving the Orchid Roots of Oxygen
Orchids are epiphytic, meaning that they grow with their roots exposed to the air, rather than growing down into the soil. Even semi-terrestrial orchids such as cymbidiums and paphiopedilum are shallow-rooted with their roots growing along the surface of the earth, not down into the dirt. Orchid roots are designed for airflow.
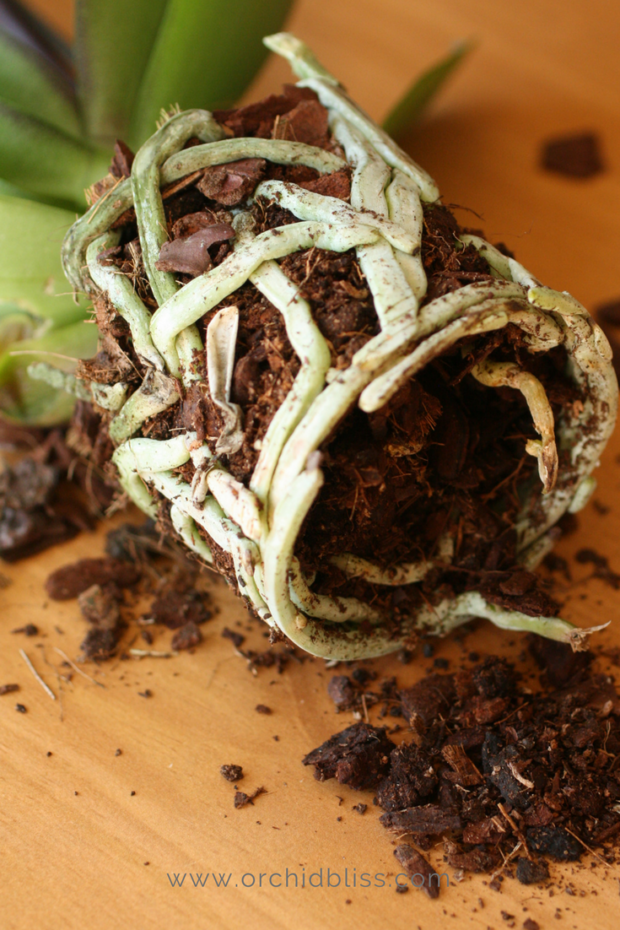
When potting mixes break down, they compact, effectively smothering the orchid’s roots.
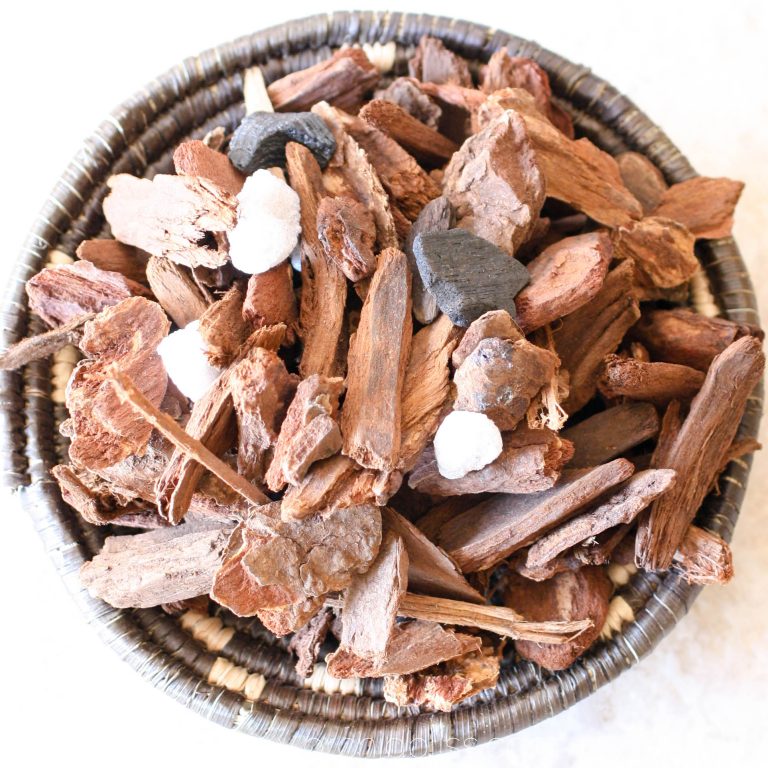
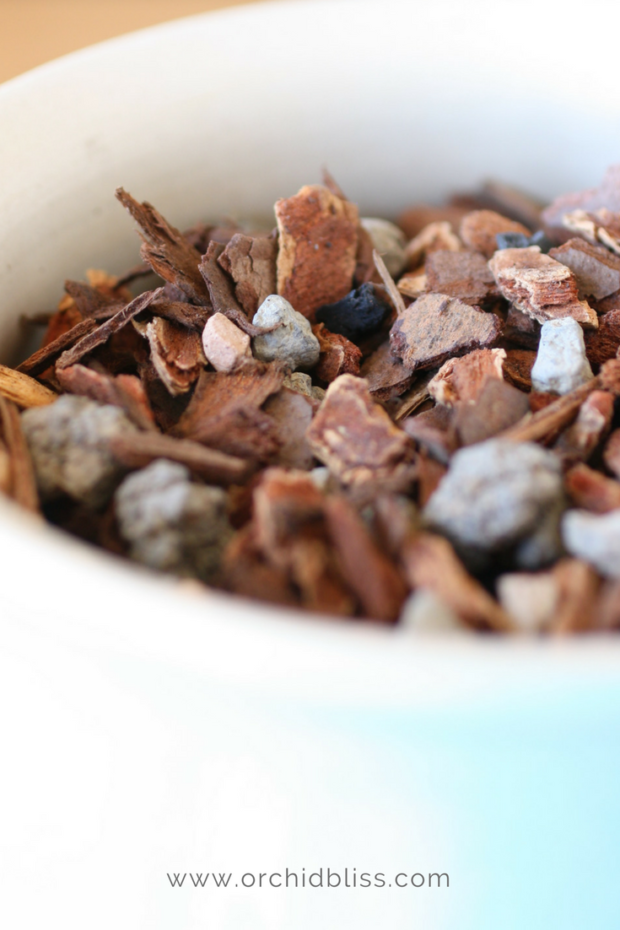
Wood-based potting mixes, such as fir bark, are a popular choice for potting orchids because they allow for airflow around an orchid’s roots. The wood-based mixes are often supplemented with materials, such as horticulture charcoal and perlite, that retain and slowly release water to the orchid’s roots as well as prevent compaction around the roots.
As time goes on, the wood chips become more water-absorbent and you will not need to water as frequently as you did in the beginning. Additionally, wood chips break down over time. Watering is a convenient time to check your potting mix. If you see what looks like coffee grounds, the wood has begun to decompose.
Sphagnum moss is another popular organic potting mix for orchids. Like fir bark, sphagnum moss will also begin to decompose.
# 2 Fertilizer Salts Are Absorbed by Potting Mixes and Can Quickly Kill Even the Healthiest of Orchids
Salt is the carrier for minerals in fertilizer. While minerals are necessary to support the health of the orchid, salt is not. Over time, too much salt accumulates in the orchid soil. If you notice that the tips of your orchid’s leaves are brown and dry, it may well be that the soil has too much salt.
Regularly flushing the orchid with water, and then afterward, fertilizing will help keep salt buildup at a minimum. But eventually, the soil will need to be replaced.
TIP: Inorganic potting mixes such as clay pellets, or LECA, absorb salts more readily than organic potting mixes. And, sphagnum moss absorbs salts more readily than bark.
# 3 Orchids Outgrow Their Pots
Though many orchids, especially dendrobiums, for instance, like to be under-potted. This means that the pot should be small for the size of the plant. Again, this goes back to an orchid’s roots’ love for air movement and a well-draining potting mix. A pot that is too big will not dry out in the middle causing the orchid’s roots to rot.
Since the orchid’s pot size should be small compared to the size of the orchid, they tend to grow out of their pots if they aren’t regularly potted (at least every 1-3 years).
When to Re-pot Orchids
There are four main indicators to watch for that tell when it’s time to pot your orchids.
#1 Crazy as it Sounds – Pot Before You Need to Pot
The first rule of when to pot is the hardest rule to follow: Pot before the soil has broken down. Waiting until the soil has actually broken down is waiting too long. Think of it this way, if you know your roof is old and it won’t be long before it leaks, it’s best to re-shingle before the roof actually begins to leak. If you wait until the soil breaks down, the health of the roots will already be compromised.
As stated above, a deteriorated potting mix is a compacted mix. Compacted media prevents oxygen from reaching the orchid’s roots, quickly leading to root loss and killing the orchid.
# 2 Re-Pot Your Orchid After It has Finished Blooming
If you have purchased your orchid from the grocery store, chances are your orchid was potted in a minimum to low-grade orchid potting medium. Don’t re-pot immediately. Wait until after all the flowers die, then the orchid is ready to be re-potted. After my orchids have finished blooming for the first time, I re-pot them using a quality orchid wood-based potting mix.
To help you further, download my free cheat sheet to see where to cut the orchid flower spike after the blooms have faded to trigger re-blooming. Click here for the cheat sheet. It’ll be super helpful.
TIP: A word of caution: Be EXTRA gentle when potting dendrobiums. They don’t like it.
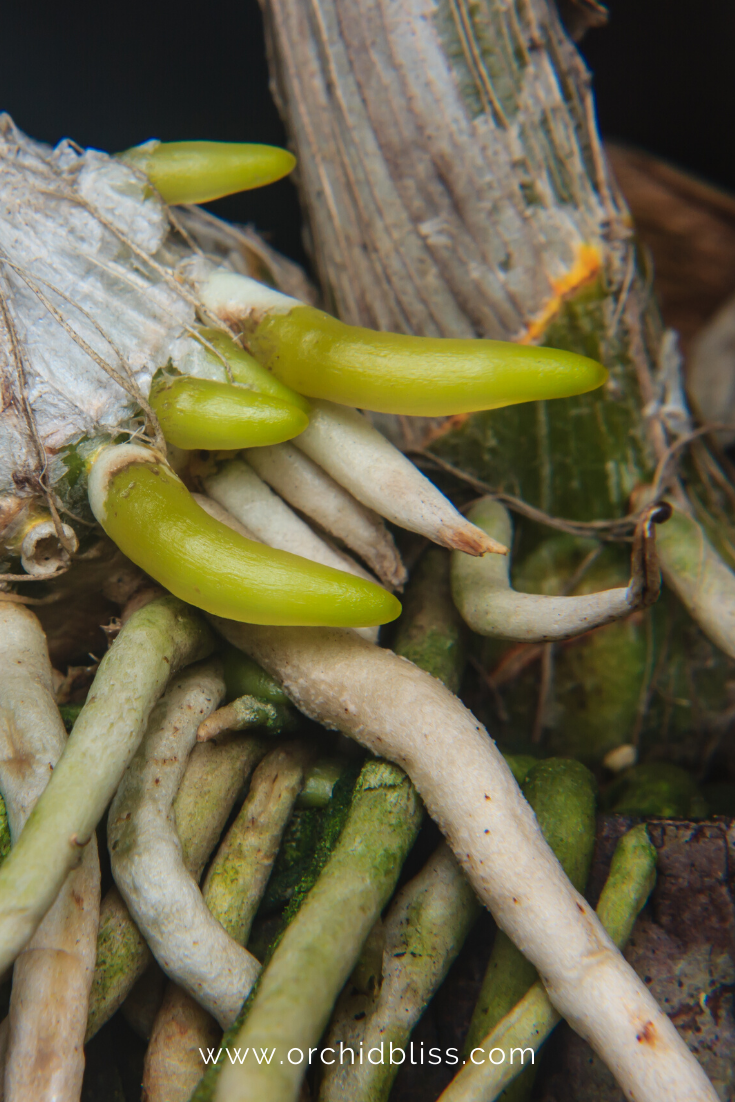
# 3 Re-Pot When the Orchid Is In Active Growth
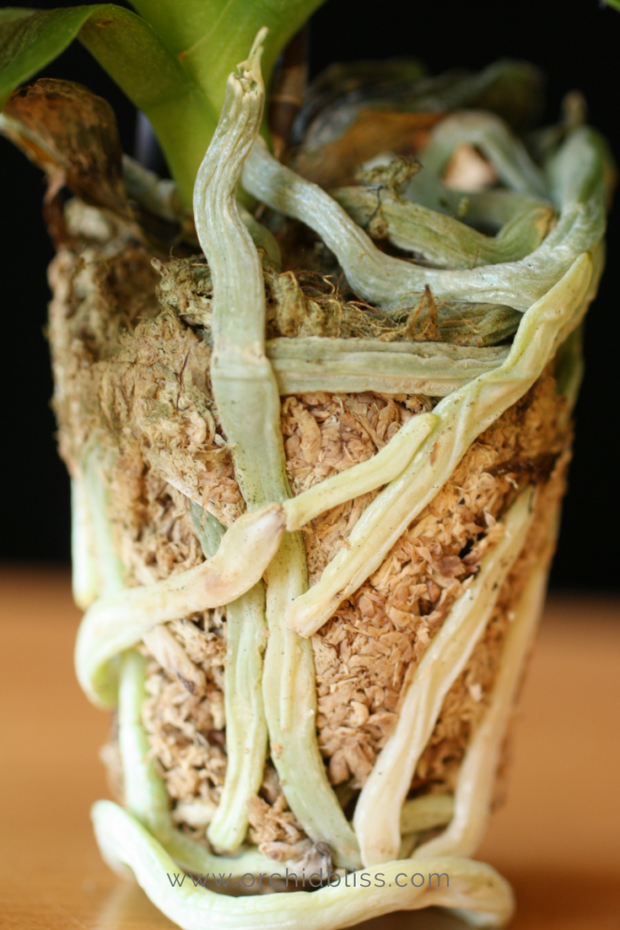
Active growth simply means that the orchid is growing new roots and leaves. When the orchid is actively growing it will rebound much more quickly from the trauma of potting.
Simply put, If you can see new roots emerging, that is the best time to re-pot.
For winter-blooming orchids such as dendrobiums, cymbidiums, zygopetalums, and some phalaenopsis, potting usually happens in the spring after blooming and during active growth.
For many orchids, such as cattleyas and dendrobiums, the very first sign of new roots is the best time to pot.
# 4 Disregard the Above Rules if the Potting Media Is Badly Decomposed
If you’ve made it this far in this article you’ve noticed that I’ve mentioned that orchid roots need oxygen. Decomposed potting media will quickly kill an orchid. If the potting media is in a bad state, pot immediately in an effort to save your orchid.

In Summary, When to Re-Pot Orchids
Knowing when to re-pot orchids depends on several factors. By considering the following recommendations, you will make the decision that is in the best interest of your orchids.
Before re-potting:
- determine when the current potting media will become unsuitable, then plant to pot before it breaks down.
- wait until the plant has finished blooming.
- be hesitant to pot if the orchid is a Dendrobium, as they do not like being re-potted.
Remember when potting orchids:
- new roots are the best indicator that the plant will do well after re-potting.
Orchids can live and bloom for many years. Making the investment to re-pot an orchid that is planted in unsuitable soil will help to ensure your orchid will thrive, supplying you with the unusual beauty that only orchid flowers provide.
Now that you know why you should re-pot your orchids – for fresh potting media without salt buildup and to allow for airflow to your orchids’ roots – and when you should re-pot your orchids – after the orchid’s flowers have faded and new roots are beginning to grow – you’re ready to learn how to re-pot your orchid.
For those of you who are looking for premium orchid soil, make sure to check out rePotme Orchid Mix. This is the soil that has helped me to grow my orchids. Full disclosure: this is an affiliate link, which means that at no extra cost to you, I make a commission if you purchase through this link.
Keep Learning
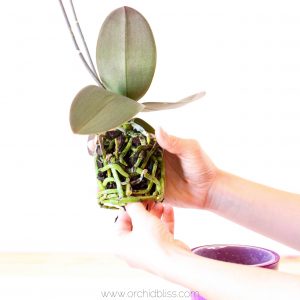
EVERYTHING YOU NEED TO KNOW TO REPOT AN ORCHID
For optimum health, repot your orchid every 1-2 years. Come learn how.
Read