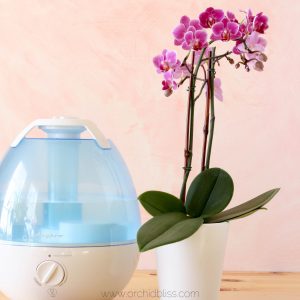
Fertilizing orchids is essential to promote overall orchid health. Over-fertilizing orchids lead to dry leaf tips and burned root tips. Yet, orchids that have not been fertilized are smaller, with fewer flowers and overall less vigorous growth. This article will teach you the how-to correctly fertilize your orchids so you can grow magnificent orchids.
The mantra most repeated when fertilizing orchids is weekly, weakly. This means that 3 out of 4 weeks, weakly fertilize your orchids with a diluted solution of fertilizer, about 1/2 to 1/4 strength. On the 4th week when watering your orchid, do not use fertilizer. Instead, flush the potting media to rinse away any salt build-up.
Some of the links on this page may be affiliate links. Click here to learn more.
When to Fertilize Your Orchid
Most cultivated orchids grow in tropical or subtropical climates with a wet season and a dry season. During the wet season orchids grow vigorously putting out new growth – this is the time to fertilize. During the dry season, the orchid does not grow new roots, or leaves and does not need fertilizing.
While not all orchids strictly follow this pattern of growth and dormancy, the ability to recognize active growth and dormancy will help you properly feed your orchids as nothing else will. Some orchids like the Maxillaria tenuifolia seem to be constantly growing – and should be regularly fertilized throughout the year. On the other hand, Coelogyne orchids go dormant during the winter/dry season and require no fertilizer at all until the spring/wet season.
Thankfully, your orchid tells you when it needs fertilizer, and when it doesn’t. New growth means “I’m hungry, feed me” and no new growth means “I’m resting. Don’t feed me.” The observant orchid caretaker will read the signs and know when to and when not to feed. Fertilizing orchids is essential to promote overall orchid health, but it must be done correctly.
Natural Habitat
Imagine your orchid growing in its natural habitat. Many orchids are epiphytic, meaning that they grow on trees, rocks, or other hosts. Even semi-terrestrial orchids grow shallow roots that grow along the surface of the ground through leaves and loose soil, rather than digging deep into the earth. While orchids are adapted to flourishing on relatively small amounts of nutrients, this doesn’t mean that your orchid won’t benefit from fertilizer.
Orchids are dependent upon regular rainfall that soaks into their roots. Additionally, wild orchids benefit from biological and chemical processes that provide needed nutrients.
Cultivated orchids do not get the benefits from these natural processes and won’t get the needed nutrients unless we feed them – in the form of fertilizer.
Why Fertilize Your Orchid
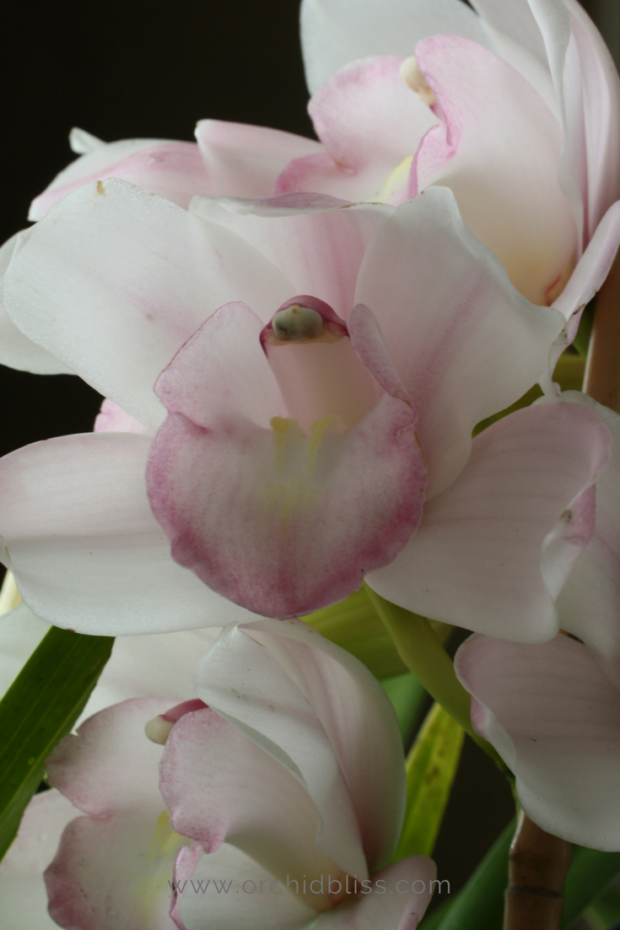
You can always tell an orchid that has been properly fertilized. The flowers are larger, and there are more of them. The root system is vigorous and strong. The leaves are glossy and healthy. Because orchids grow stronger with proper feeding, fertilizing orchids is an important skill that every orchid caregiver can master.
How to Fertilize Your Orchid
The mantra most repeated when fertilizing orchids is weekly, weakly. Cut the fertilizer to half to one-quarter of the package instructions. For example, if the fertilizer manufacturer’s instructions say to add 1 teaspoon of fertilizer to 1 gallon of water, add only 1/2 to 1/4 teaspoon of fertilizer to 1 gallon of water. Then, every fourth watering, do not fertilize. Instead, flush the potting media with water to rinse away any salt build-up.
Growth Cycle
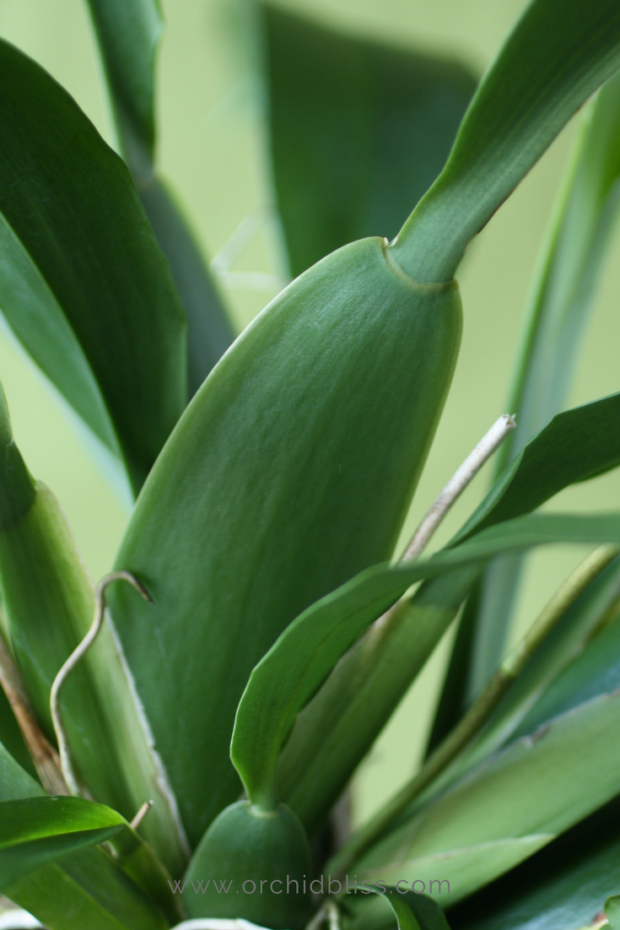
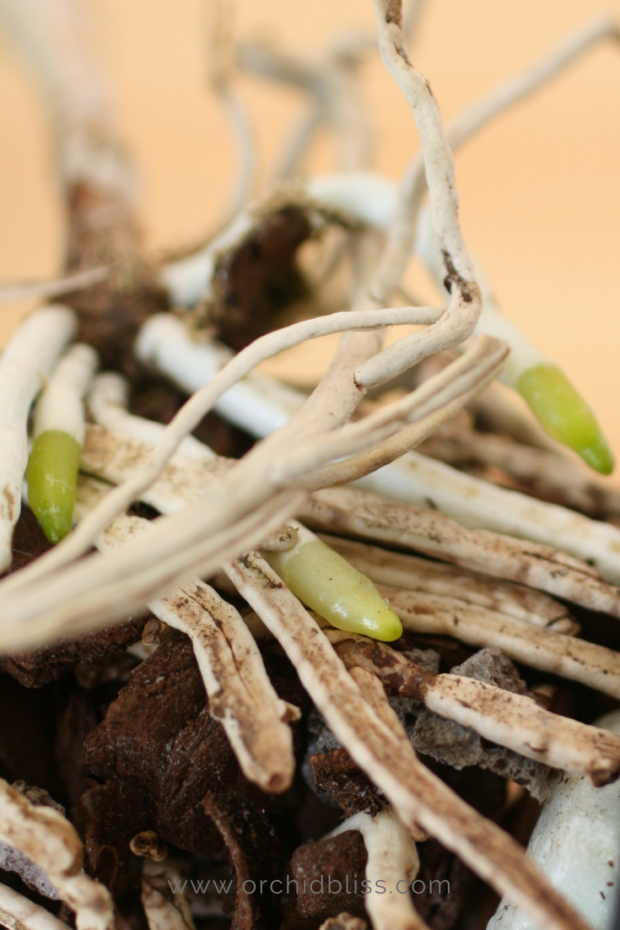
You may have noticed that sometimes your orchids seem to be doing nothing at all while other times you notice leaves emerging, flower spikes forming, and new roots developing. These are all parts of the orchid’s life cycle, including the rest cycle. Observing the orchid’s growth cycle will help you know when to fertilize.
When to Skip the Fertilizer
As noted above, you will observe periods when the orchid plant goes dormant. During this resting period, you will not see any flowers, roots, or leaf growth. This signals the need to take a break from fertilizing your orchid, and if the orchid goes dormant, cut back on watering as well. When new growth appears, the orchid is beginning the next stage of its growing cycle and will again benefit from fertilizer.
Another time when you should hold off for a few weeks on the fertilizer is when buds are starting to form. Feeding during bud development can lead to bud drop, and you don’t want that.
Lastly, if your orchid is sick or stressed, wait to fertilize until your orchid has recovered. For example, if your orchid has been overwatered and has lost its roots, place the orchid in a shaded location, and increase the humidity. You can make a mini-greenhouse by placing a clear plastic bag over the orchid.
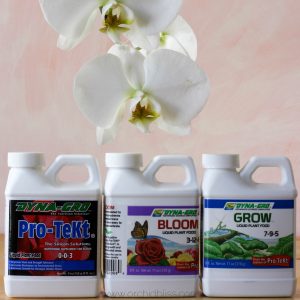
Types of Fertilizer
Orchids need both macronutrients and micronutrients. Macronutrients are needed in larger quantities and include nitrogen, phosphorus, and potassium. Micronutrients are trace elements that are needed in smaller quantities, yet are still vital for proper health. Micronutrients include iron, manganese, boron, etc. Whichever fertilizer you choose, look for one that is a complete fertilizer. This means that the fertilizer contains both macro and micronutrients.
Organic
Organic fertilizers are made from natural sources such as fish and seaweed – kelp emulsions, ground bones, blood meal, and manure. The concentrations of macro and micronutrients are lower than their inorganic counterparts. Also, organic fertilizers depend on biological and chemical processes in order to take effect.
The main drawback of organic fertilizer is the stench. Whatever organic material is used to make the fertilizer is what you will smell – blood, fish, manure – you name it – you’ll smell it. Of course, the smell does dissipate, particularly once the fertilizer has dried.
Some orchid growers use a combination of organic and inorganic fertilizers with great results.
Inorganic
A complete, inorganic fertilizer is a reliable way to feed orchids. Though the formulas vary with different purposes in mind – some to promote flowering, others stimulate root growth, and others to encourage leaves – there isn’t a lot of guesswork involved. You can dependably count on stimulating a good result in both plant growth and flowering.
Slow-Release Fertilizers
The idea behind a slow-release fertilizer is that you do it once, then you don’t have to worry about it for several months. As these fertilizers depend on chemical processes within the soil, they don’t work that great for orchids – the majority of which don’t grow in soil, but in well-aerated, free-draining mixes. Furthermore, slow-release fertilizers can burn sensitive orchid roots. While some growers successfully use slow-release fertilizers to grow orchids, the odds are greater than you, and I will have better success with regular applications of fertilizer that give you more control.
What the Numbers Mean
I’m sure you’ve noticed that on the label of every fertilizer there are three numbers separated by dashes. You may see something like 20-20-20. These numbers represent the percentages of macronutrients – nitrogen, phosphorous, and potassium. The label will also list whatever micronutrients the fertilizer contains.
Here’s what those numbers mean. Fertilizer numbers are representative of a percentage. For example, if the fertilizer labels read 7-7-7. This means that there is 7% nitrogen, 7% phosphorous, and 7% potassium. While these numbers do not add up to 100%, they do represent a concentration. The lower the numbers, the lower the concentration of the respective nutrients.
A balanced fertilizer means that the macronutrients have an equal percentage. For example, a 20-20-20 fertilizer is composed of 20% solution of nitrogen, 20% phosphorous, and 20% potassium.
Health Benefits of Nitrogen (N), Phosphorous (P), and Potassium (K)
#1 Nitrogen
The first number on the fertilizer label is always nitrogen. Nitrogen promotes healthy, lush foliage. High nitrogen fertilizer is recommended if using a wood-based planting media, 9-3-6. Use this fertilizer when you notice new leaves forming.
Some nitrogen fertilizer is urea-based. Urea becomes a useable form of nitrogen when it combines with naturally occurring bacteria in the soil. Since orchids do not grow in soil in the traditional sense – most often fir bark and other open potting mixes – orchids do not absorb nitrogen that depends upon this process. Urea-based nitrogen will not hurt the orchid, but neither will the orchid absorb nitrogen in this form.
When fertilizing orchids, to get the most benefit from nitrogen in fertilizer, buy a fertilizer that is not urea-based.
#2 Phosphorous
The second number refers to phosphorous. To promote flowers, use a higher phosphorous fertilizer such as 3-12-6. Once the orchid is prepared to bloom, you see flower spikes appearing, and return to a balanced fertilizer.
#3 Potassium
Potassium is the third number on the label and is important for developing a strong root system, including the overall well-being of your orchids. Potassium also helps to fight pests and diseases and bounce back from unfavorable conditions such as cold and drought conditions. When roots are forming use a fertilizer such as 0-0-3.
Fertilizing Orchids – Simplify the Process
If you want to simplify fertilizing and don’t want to keep different fertilizers on hand, you can always use just a balanced fertilizer. Using a balanced fertilizer keeps things simple especially if you are growing several different types of orchids that are experiencing different seasons of the growth cycle. In fact, using a complete, balanced fertilizer is a popular, and effective way to fertilizer orchids – even among the fussiest and most enthusiastic orchid growers.
Fertilizer Salts – The Double Bind
An important way to provide your orchids with essential nutrients that they will not get by water alone is to fertilize. The key to fertilizing properly is to not overdo it. Orchids are salt sensitive. And salt is the carrier for the minerals found in fertilizers. Too much fertilizer will burn plants and will break down potting media more quickly.
Regularly flush fertilizer salts from the potting media by allowing clean water to flow through the potting media once or twice a month when watering.
A couple of indicators that the potting media has high salt are leaf tips that are brown and crispy and root tips that are brown and dull instead of green and plump.
In addition, another clue that salts may be too high are roots that grow out as aerial roots instead of down into the potting media.
Some potting mixes absorb more salts than others. It doesn’t mean you should necessarily avoid these mediums, just be aware so you can flush the salts and change the potting media as needed.
- LECA, also known as Aliflor or clay pebbles, is an inorganic potting media that won’t break down, reducing the frequency of re-potting. Since it is inorganic the need for fertilizing is especially important. Yet, these clay pebbles readily absorb salts.
- Lava rock is a good potting medium for orchids that are particularly sensitive to overwatering. Like LECA, lava rock will not break down but does readily absorb mineral salts.
- Sphagnum moss is an organic product used alone or mixed with other mediums. It absorbs and holds water – and fertilizer salts.
Leaching Salts
If you use any of the above potting media, use clay pots (which also absorb salts) or even, regularly and properly fertilize your orchids, it is helpful to know how to leach fertilizer salts from your potting media and/or your clay pot.
To leach salts from the potting mix and pot, simply soak the orchid pot in distilled water for about an hour. One week later, repeat the process. Pretty simple.
Necessity of Re-potting
Leaching salts from the potting media will reduce salts from the media and clay pots, but inevitably, you will need to re-pot your orchid. Regular, light fertilizing during active growth, flushing, and leaching salts as needed will delay the need to re-pot. Of course, your orchid may outgrow its pot and potting media will break down.
When the potting mix begins to break down, you may notice your orchid leaves going limp, and the leaves starting to rot. To keep your orchids looking their best, the first step is to prevent limp, leathery leaves and rotten roots. Download my free cheat sheet on how to prevent limp leaves and rotten roots. Click here for the super helpful cheat sheet.
Advantages of Becoming an Expert at Fertilizing Orchids
The skills you’ve learned as an expert orchid fertilizer – keeping track of root, leaf, pseudobulb, and bud growth – will help your orchid rebound from potting much faster than they would otherwise.
Now you can pot when it’s best for the orchid – not because it’s an emergency. The beginning of new roots is always the best time to re-pot. By regularly flushing and leaching salts you can keep the roots and leaves healthy and the potting media fresher for longer. Those who don’t take these precautions risk losing their orchids to root loss due to excessive salt build-up.
You, on the other hand, will grow lush orchids with abundant flowers. It’s amazing what “weekly weakly” feedings can do for your orchids!
Ready to Learn More About Growing Orchids?
To help you further, start by downloading my free cheat sheet to see where to cut the orchid flower spike after the blooms have faded to trigger re-blooming. Click here, for the cheat sheet. It’ll be super helpful.

How to Give Your Orchids the Right Light and Watch Them Bloom
Learn about natural sunlight and artificial lights, including fluorescent and LED lights, to grow orchids.
Read