You’ll Love Your Step-By-Step Guide
Orchid Arrangements
This post will help you design amazing orchid arrangements that will look like the florist just stopped by. After seeing your orchid arrangement, don’t be surprised when someone says to you, “It looks like somebody loves you!” Or asks, “What’s the occasion?”
Because of their inherent sculptural shape and ridiculously long blooming periods, orchids naturally lend themselves to flower arrangements. I can’t wait to show you how it’s done!

Some of the links on this page may be affiliate links. Click here to learn more.
Tip # 1: Make a Plan
I know I am stating the obvious, but before diving into any project it’s a good idea to take a minute to plan. Think about the occasion. Is the orchid for yourself or a loved one. It is a thank you, or for a holiday? Maybe you just want a stunning orchid flower arrangement that will make you smile every time you see it.

Tip #2: Determine Size
Another consideration is space. Do you want a large statement display, or something beautiful, but subtle? Will the room that the orchid arrangement will be displayed in be large or small? What about the table size where the orchid arrangement will be displayed?
Tip # 3: Decide on the Orchids
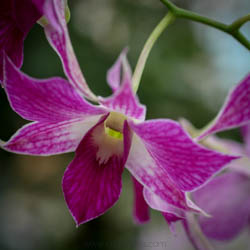
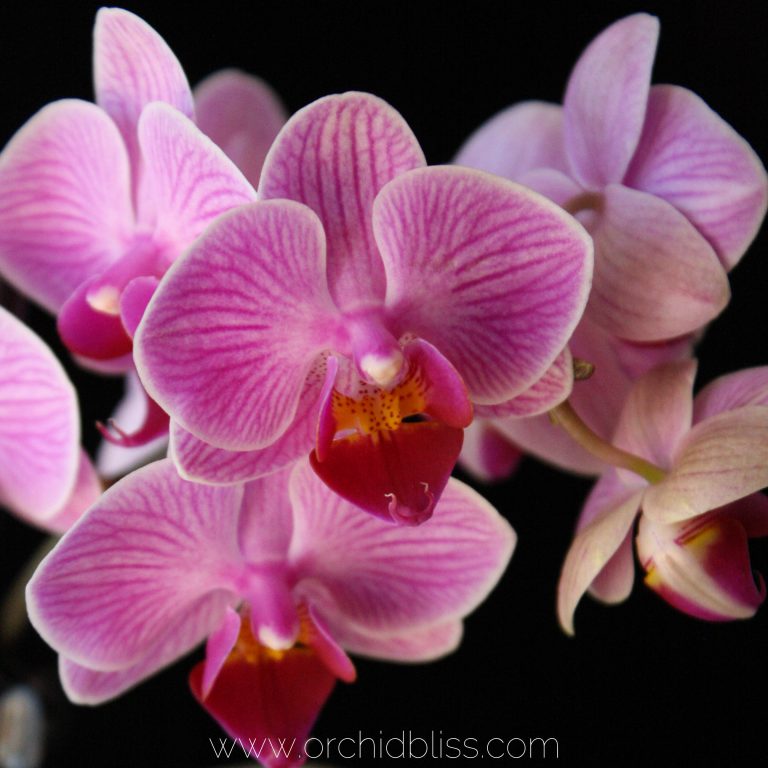
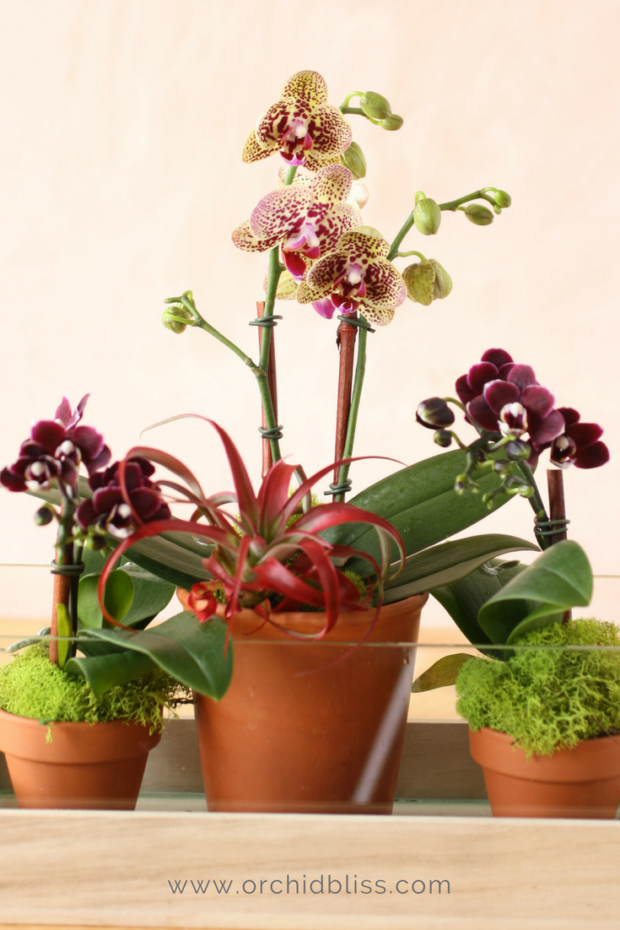
Decide what kinds of orchids you would like to use in your orchid flower arrangement. Do you want the large or small orchids or a variety? Do you want the orchids to be a single color or a mix of colors?
An excellent resource for online mini Phalaenopsis orchids is Floralistic. The orchids arrive quickly, in great condition and at a good price. You also get to choose the flower color. The orchids come in a 2″ or 3″ clear, plastic liner pot.
Tip # 4: Select the Pot
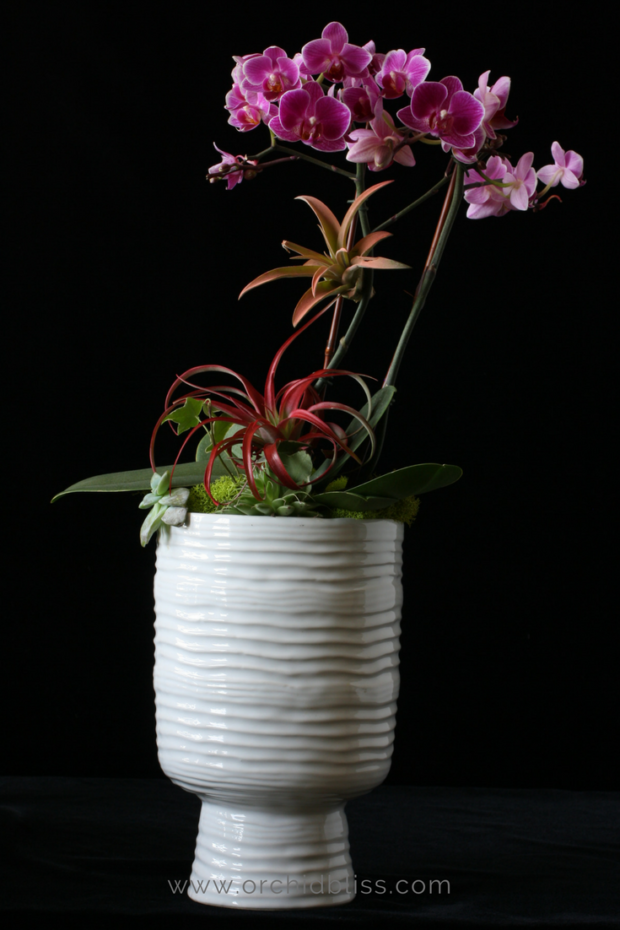
For me, deciding on the pot to display the arrangement is what takes the most time. The pot sets the display mood. A wicker basket is more casual, while a pedestal vase is more formal. For an artsy look, go for hand-thrown pottery. Trays and baskets also work well. A birdcage or an over-sized lantern might be just the thing. There are also various shapes: round, square and rectangular. Whatever the shape or size, I highly recommend going for a pot with a flat base. This way you’ll have a solid surface to set the orchids in.
Tip # 5: Keep an Open Mind
Shopping
Once you’ve had time to think about what the occasion is, where the orchid flower arrangement will be displayed and which materials you’d like to use, now is the time to keep an open mind. In my mind when I decided to make an orchid arrangement for this post I thought that an all-white arrangement sounded lovely. When I got to Trader Joe’s, the white orchid selection was very limited, so I went with the available colors. When creating orchid arrangements be flexible.
To find just the right pot for your display you might find what you are looking for in your very own cupboards or a second-hand shop. Home Goods or Target also might have what you’re looking for. Online you could try Amazon or Hobby Lobby.
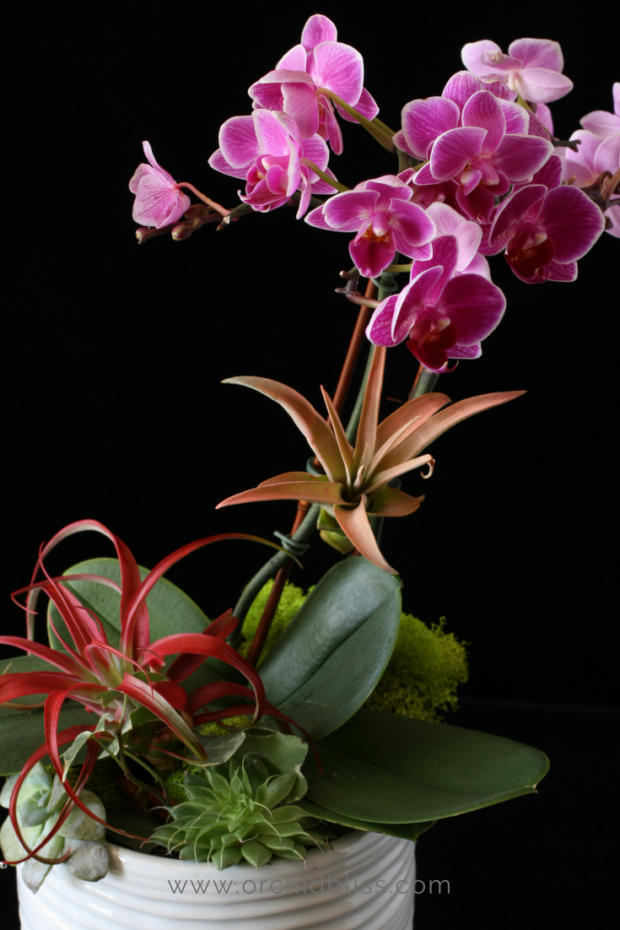
Tip # 6: Secret Weapons
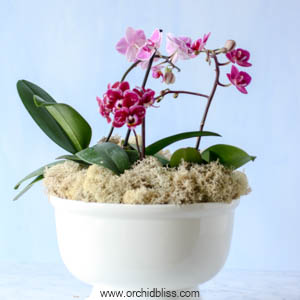
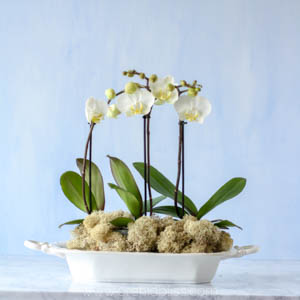
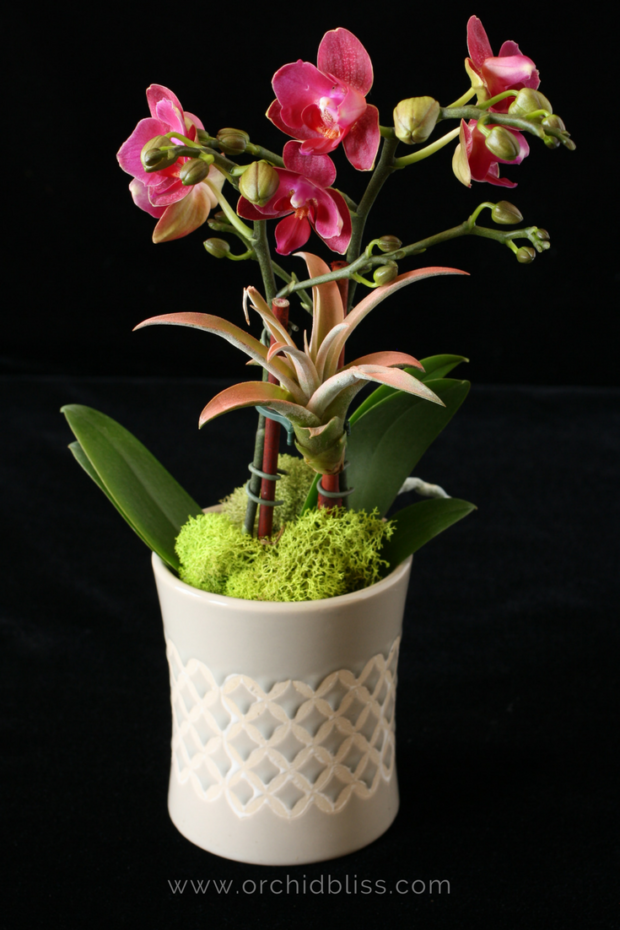
Moss
I love using moss because it looks great, it’s lightweight, clean and easy to use. Just tuck it around the base of the orchid and it stays put. Many florists tuck, or glue moss around the clips that hold the orchid stem to the stake. Using moss is such a simple and inexpensive trick, but it really finishes off a display.

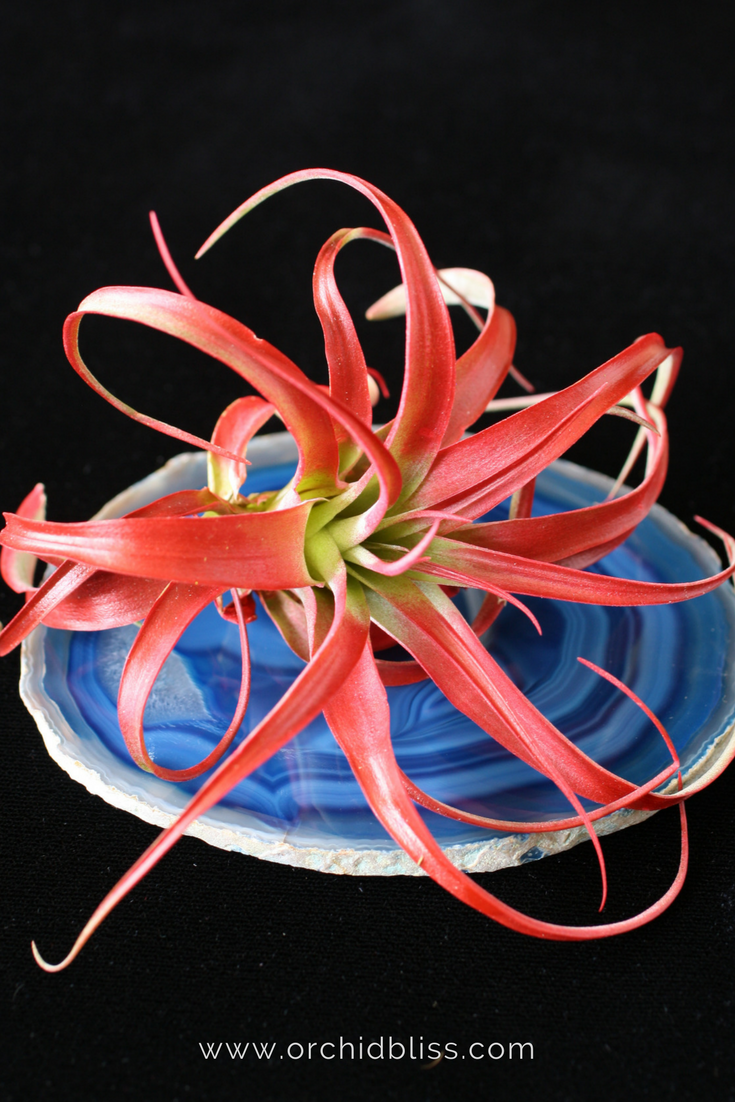
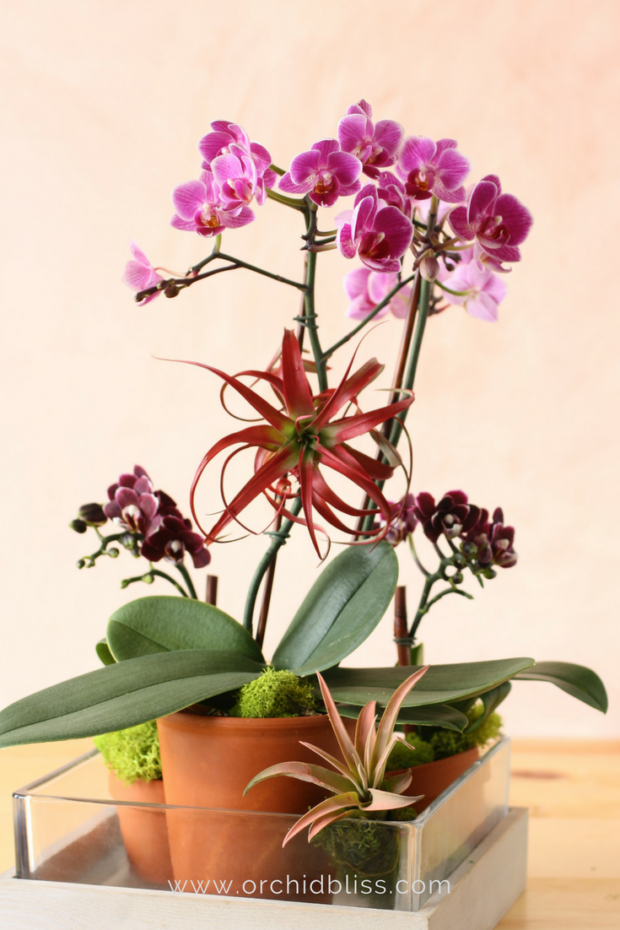
Air Plants
Using air plants will give your orchid arrangements a serious WOW factor. These plants do not require any soil, so they are not messy at all! These clever little plants can be tucked wherever you need them. I like putting them in between the flower stalk and the stake. This adds interest and color to the flower stalk. I also set air plants around the base of the plant with the moss. To purchase air plants, check your local nursery. They are also available online.
To water your air plants, give them a thorough rinse under your faucet a couple of times a week. After watering, give them a gentle shake to remove any excess water. If your air plant happens to be in bloom, take extra care with the flower by keeping the flower out of the water.
Original Containers
This may not sound like much of a secret weapon, but trust me, it is. If you were to purchase orchid arrangements from a florist all of the orchids would be stuck together into one big container. The water drainage would be terrible and there would be no way to check to see when the orchids need water, and more importantly when they do not need water.
I am a huge proponent of making sure whatever pot you use for the display is large enough that all of the orchids can be set inside in their original containers. By this, I mean both clear plastic inner pot and the outer pot. If you don’t want these pots to show, add more moss. To water the orchids, simply remove them from the display and slip them back in when you’re finished watering.
Best of all, when using this method, you can easily replace an orchid that has finished blooming. You can create the energizer bunny of gorgeous orchid arrangements!
Your Turn
This method of creating orchid arrangements is a lot of fun, saves tons of money, and will outlast a pre-made display any day of the week!
Keep your orchids looking their best. Here’s how to prevent limp, leathery leaves and rotten roots. Download my free cheat sheet on how to prevent limp leaves and rotten roots. Click here for the super helpful cheat sheet.
Remember the Tips:
- Make a plan
- Determine the size of the arrangement
- Decide on the orchids
- Select the pot
- Keep an open mind
- Secret weapons (moss, air plants, original containers)
Read more articles to help you show off your orchids: