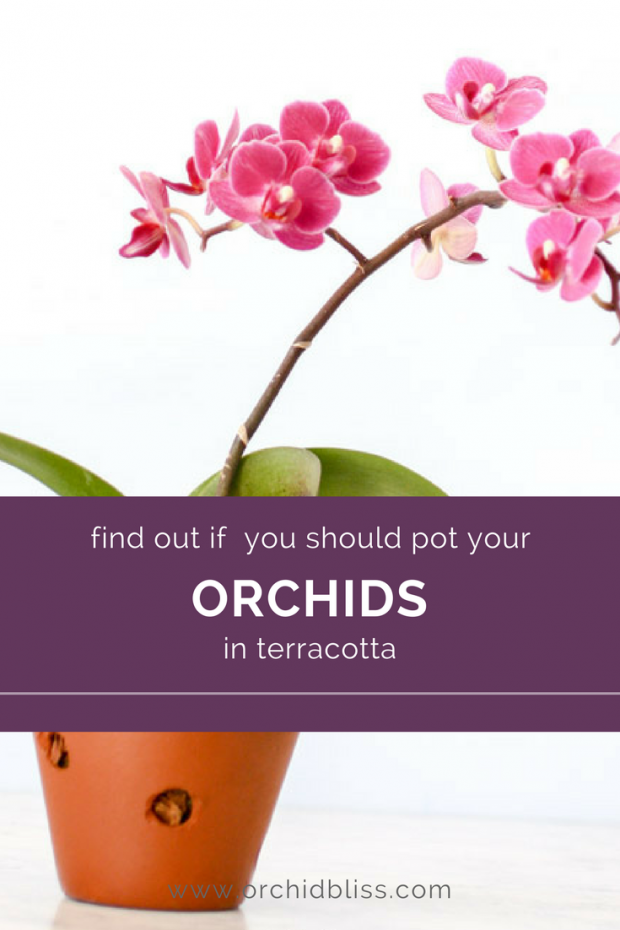
6 Reasons You Should Use Terracotta to Pot Your Orchids & 2 Reasons You Shouldn’t
Terracotta pots are a divisive issue with orchid enthusiasts. I’ve found that orchid growers either highly recommend or are adamantly against using terracotta to pot orchids. Why are there such strong opinions about using terracotta to pot orchids? Read on to find out why and decide if terracotta is right for your orchids.
Some of the links on this page may be affiliate links. Click here to learn more.
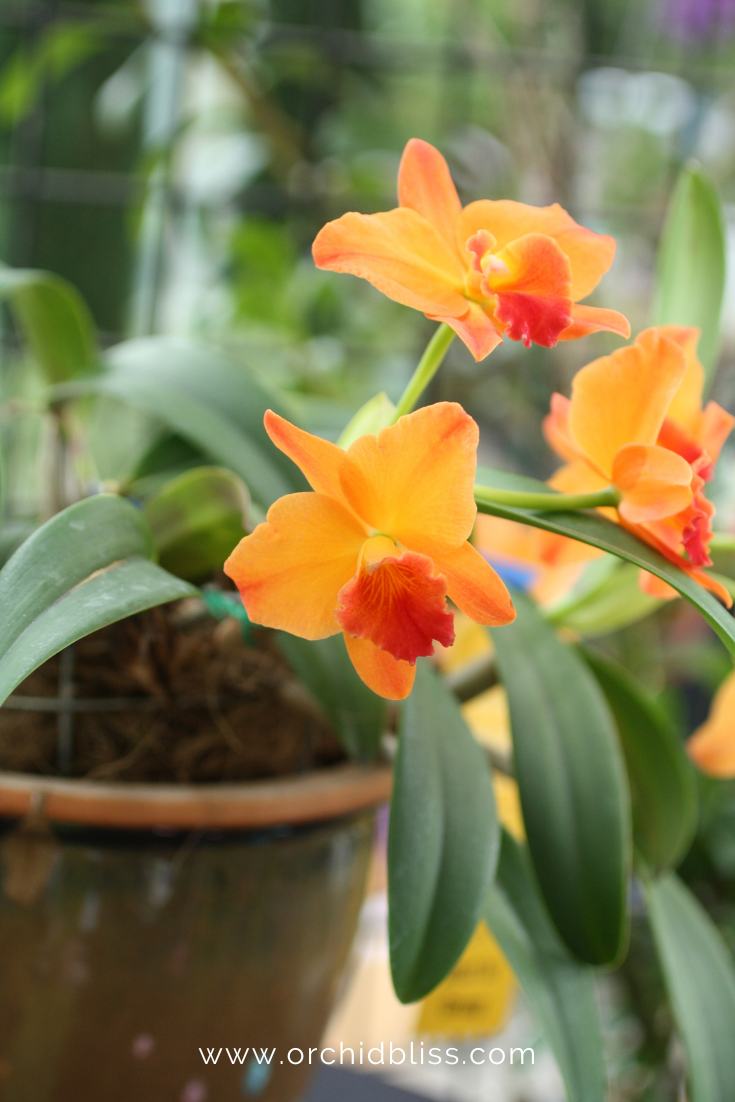
Are terra cotta pots good for growing orchids? Terracotta can be a great choice for potting orchids if you are looking for a pot that is inexpensive and readily available, is heavy enough to keep the orchid from toppling over, absorbs water, and absorbs fertilizer salts away from the orchid’s roots. Finally, the porosity of terracotta provides airflow to the roots. On the other hand, some people choose to stay away from terracotta because it is opaque, making it so you can’t see the orchid’s roots. Likewise, roots with photosynthetic capability will not receive sunlight. Additionally, orchid roots stick to clay pots.
While it is true that orchid roots adhere tenaciously to terracotta, I do have a couple of tips to ease the roots away from the pot. And, one of those hints comes from a reader like you! While we’re talking about potting, you should know that terracotta pots can be reused over and over. To prevent the spread of infection and even pests there are a few things you should do to sanitize the pot before re-using. NOTE: if you use a clay pot, there is an additional step that I will share with you.
Some of the links on this page may be affiliate links. Click here to learn more.
Here’s Why You SHOULD Use Terracotta Pots to Pot Orchids
Pots on the Cheap
First off, terra cotta is cheap and widely available. If it breaks, it won’t be difficult to find a replacement. You can buy terracotta pots anywhere from your local hardware store to a big-box chain.
When buying terracotta you’ll be better off buying locally than purchasing online. Clay pots are heavy and that means higher shipping charges. Even if the shipping is “free” the cost of the pot will still be lower when you buy locally.
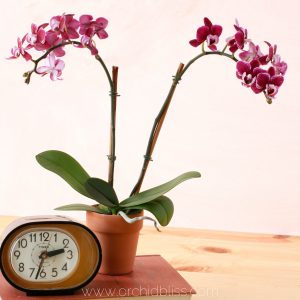
Terracotta Is Heavy
This is a good thing when you have a top-heavy orchid. Orchids like to be underpotted – that is for the size of the orchid, the pot will be relatively small. This allows the roots to grow tightly together and it also keeps the potting media from staying too wet and rotting the roots.
Many an orchid has fallen over because the top of the plant was too heavy for the pot. Clay pots are heavy and provide stability for the orchid – lessening the chance that the orchid will fall over. (Read on for information on how to choose the right pot size for the orchid.)
Porous Is a Plus
Terracotta Absorbs Water
First, terra-cotta is porous, which means that the pot will absorb water. The blessing is that you can tell when the potting medium is dry because the pot will be dry as well. Because it is so easy to assume potting medium is dry when looking at the top portion of the potting mix, a cool, damp terracotta pot can clue you in on the dampness of the orchid mix.
Orchids do not like to sit in standing water. Terracotta will alleviate this problem by wicking away excess water. The curse is that if the pot gets too dry, the clay pot will absorb water away from the orchid’s roots.
TIP: One remedy for minimizing terracotta’s tendency to wick water from the orchid is to water both the pot and the orchid. To do this, soak the orchid in the terracotta until the pot has absorbed all the water it can hold.
TIP: Keep in mind that compared to plastic pots, terracotta pots will dry out faster.
Minimizes Fertilizer Salts
Personally, I like the look of a mineral-stained terra cotta pot. It’s just so authentic looking. However, mineral stains serve another important function beyond aesthetics. Mineral salts introduced through fertilizers are absorbed out of the potting mix and to the outside of the terra-cotta pot. This is a benefit that plastic and earthenware pots can’t compete with.
Porosity Provides Air Flow to the Orchid’s Roots
Another benefit that plastic and pottery can’t boast is that terra cotta allows oxygen to pass through to the roots. Air circulation isn’t just a good thing for orchid leaves, it’s vital for optimum orchid root health.
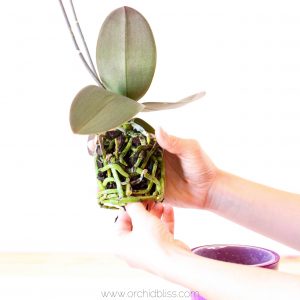
Without a doubt, the orchid roots will stick to the terracotta. This isn’t a problem…until it is time to re-pot. Then, re-potting becomes a beast. The roots will either have to be torn away from the pot or snipped off.
Why You Should NOT Use Terracotta to Pot Orchids
It’s true that terracotta is the go-to pot for many orchid growers. But that doesn’t mean that terracotta doesn’t have its drawbacks.
Opacity – You can’t see through the pot to examine the roots
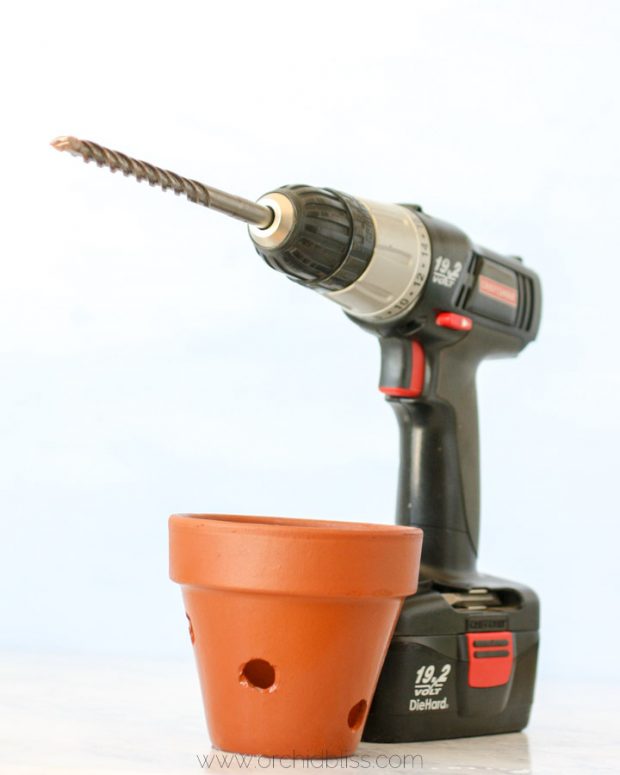
A downside is that terra cotta is opaque which means that you will not be able to see the orchid’s roots and soil. To offset this disadvantage, use pots with slots. Purchasing terra cotta with slatted sides or with large holes is more expensive than those without but does have the advantage of allowing you to see into the potting mix and the roots.
It is believed that some orchid roots, such as Phalaenopsis roots, have the capability to photosynthesize. Meaning, that just like the orchids’ leaves, the roots too can convert light into energy.
How to Drill Holes in the Sides of Terra Cotta Pots
To offset the disadvantage of terracotta’s opacity, buy a pot with holes, or use a drill with a masonry bit and drill holes in the side.
Roots Stick to Clay Pots
The main disadvantage of terracotta is that orchid roots will stick to the pot. There is no maybe, it will happen. Sometimes the only way to extricate the roots from the pot is to break the pot. Many of the roots will have to be cut from the pot with scissors.
Here are a couple of ways to minimize root damage when re-potting orchids potted in terracotta:
First, soak the orchid roots, pot, and all, in water for about 20 minutes before removing the orchid from its pot.
Second, carefully detach the roots from the pot.
Reader Tip: How to Remove Orchid Roots Stuck to Terracotta
To remove roots from terra cotta, just take a razor blade and slide it right under the root and slide it upward close to the pot. I have done it many times, even to remove roots from my walls.
Candy Wert

Essential Information on Cleaning Orchid Pots Before Reusing
- Wash the pot with hot, soapy water.
- Disinfect the pot with hot water and a 20% bleach solution. Soak for at least 20 minutes.
- Rinse the pot with water and dry.
Here’s the extra step that’s only for clay pots:
4. Bake the clay pot at 400°F for 2 hours to kill any viruses that may still be lurking. And that’s it!
Every Good Orchid Pot Provides Drainage
No matter which orchid pot you choose – terracotta, glazed clay pot, plastic, or even wood slats – every orchid pot should have drainage.
Remember earlier when I mentioned that terracotta provided airflow to the roots because terracotta is porous? Well, all orchid pots need a nice big hole for drainage. If the pot doesn’t have a big hole in the bottom, keep looking. Or, reference the above tutorial for making your own drainage hole.
Bottom Line: for improved airflow, use pots with slats or holes on the sides of the pot.
How Big (or Small) Should the Orchid Pot Be?
Choose the pot based on the volume of roots – not the size of the orchid. If the orchid is healthy and has a well-developed root system, go up just one pot size when re-potting. If the orchid has experienced root loss, you should choose a smaller pot.
It is also helpful to estimate the rhizome growth (if you are growing sympodial orchids) of 1-2 years and to choose a pot that will accommodate accordingly.
As you become more experienced, you’ll become better and better at judging the pot size for your orchids.
Final Thoughts on Using Terra Cotta for Orchid Pots
The more experienced you are at growing orchids, the more terra cotta will work for you. Paramount to healthy orchids is healthy roots. To help see the orchid’s roots better, buy terra cotta with holes, or make your own holes with a masonry bit. In fact, even if you give your orchids the perfect amount of water, terracotta with holes is still a good idea.
If you’ve got watering down, give terracotta a try.
If you are still working on watering properly, don’t go with terracotta, go with a clear liner pot.
If limp orchid leaves are a problem for your orchids, download my free cheat sheet on how to prevent limp leaves and rotten roots. Click here for the super helpful cheat sheet.
Orchid Mix I Use
For those of you who are looking for premium orchid soil, make sure to check out rePotme Orchid Mix. This is the soil that has helped me to grow my orchids. Full disclosure: this is an affiliate link, which means that at no extra cost to you, I make a commission if you end up purchasing through this link.
Related articles
Why Re-Pot Orchids – Plus 4 Clues that Tell You When to RePot Orchids
Pottting at the right time vastly improves how well your orchid will adapt.
Read