Tolumnia Orchid Care: The Complete Guide
Tolumnia Orchids are beautiful, easy-to-grow flowers that are perfect for beginners and green thumbs alike. With a wide range of colors and patterns, these eye-catching delicacies make for a wonderful specimen plant. They are small in size, so they are well suited to grow on windowsills or small spaces under lights, and with the right care, you can enjoy this delightful bloom year-round!
Tolumnia orchid care includes proper lighting, watering, and fertilizing as well as providing the right conditions of temperature and humidity. In addition, understanding air movement, rest periods, and disease control are also important.
This article will cover everything you need to know to care for tolumnia orchids properly. You can use the guide to suit your situation better as there are many factors to consider when growing, including the physical environment, if you are growing inside or outdoors, how much time you have to care for them, and more. Then you can determine which methods work best for you and your plants.
Some of the links on this page may be affiliate links. Click here to learn more.
Tolumnia (Equitant Oncidium) Orchids
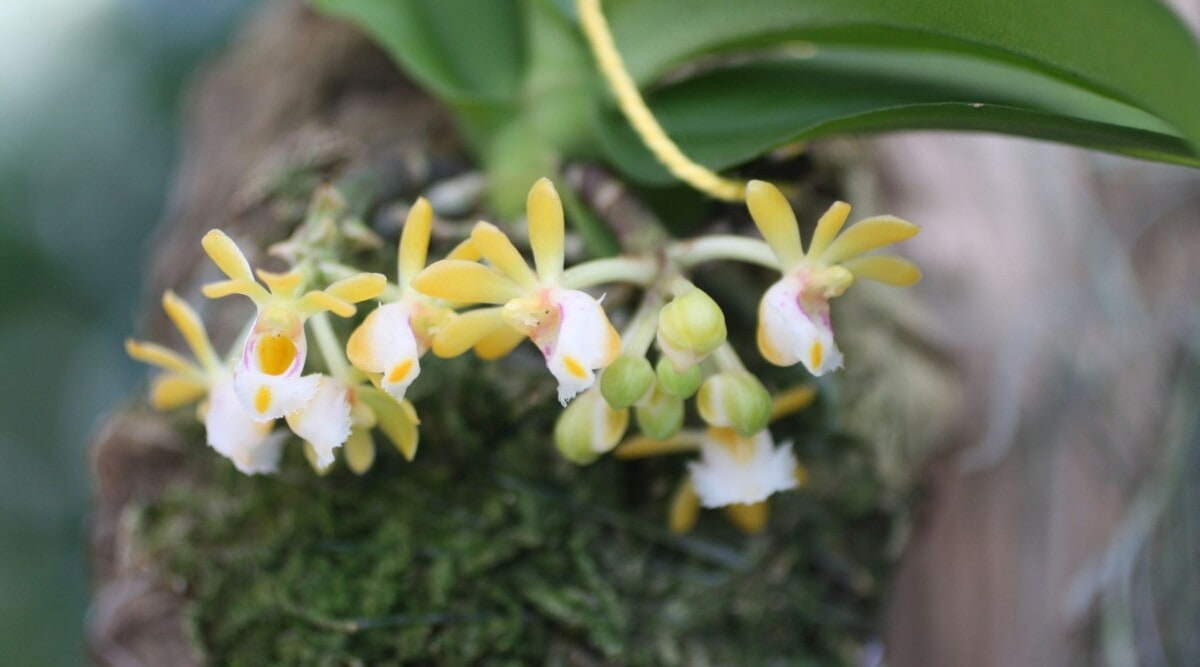
The tolumnia orchid–also known as the Dancing-lady orchid–is a blended, hybridized flower of the equitant oncidium species. The term “equitant” comes from the Latin that translates to “riding a horse” and refers to how the leaves of the plant arrange in pairs, essentially straddling each other (resembling one straddling a horse). The inflorescences will then rise between the leaf base to display flashy, chromatic flowers.
Tolumnia hybrids have only been around for about half a century or so. But as it takes a relatively short time (about 2 ½ years) for the plant to go from pollination to bloom, breeders have been able to create several variations in a short time.
Get Your Free Tolumnia Care Card
For easy care instructions on how to care for tolumnia orchids, CLICK HERE. You’ll get a PDF downloadable culture sheet with care requirements for oncidium orchids.
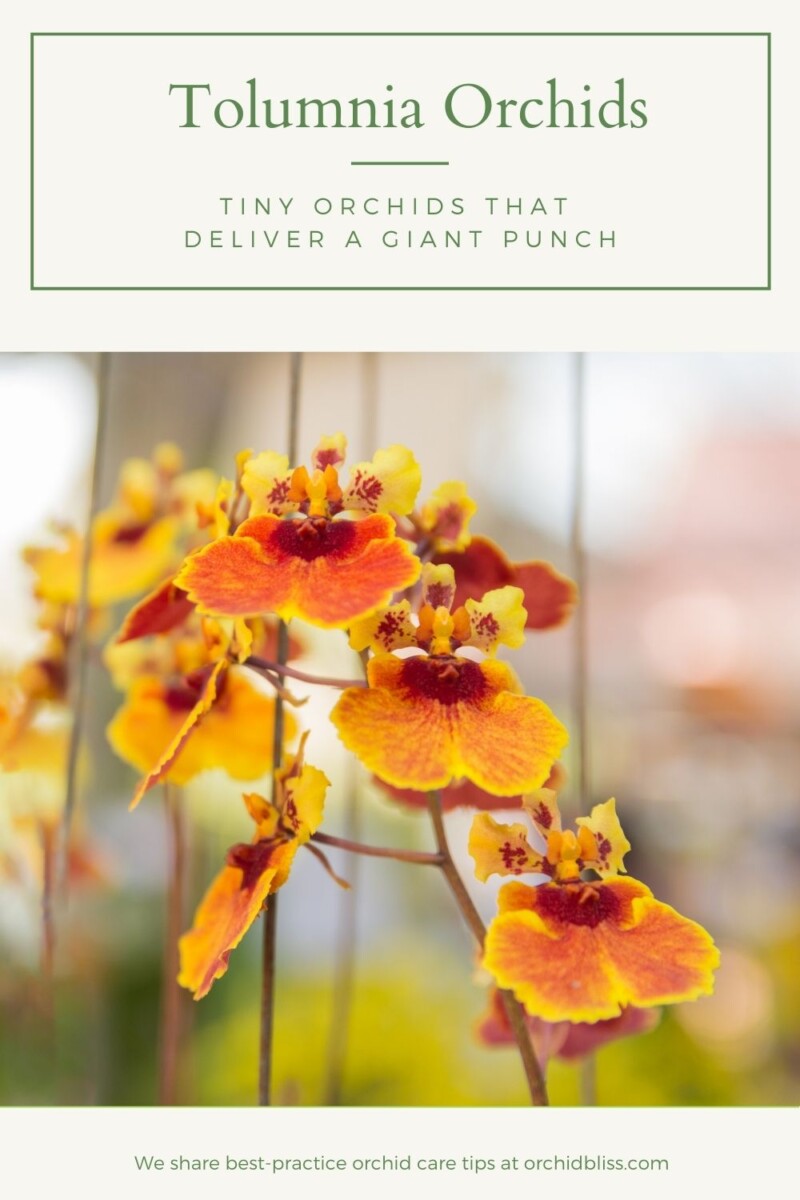
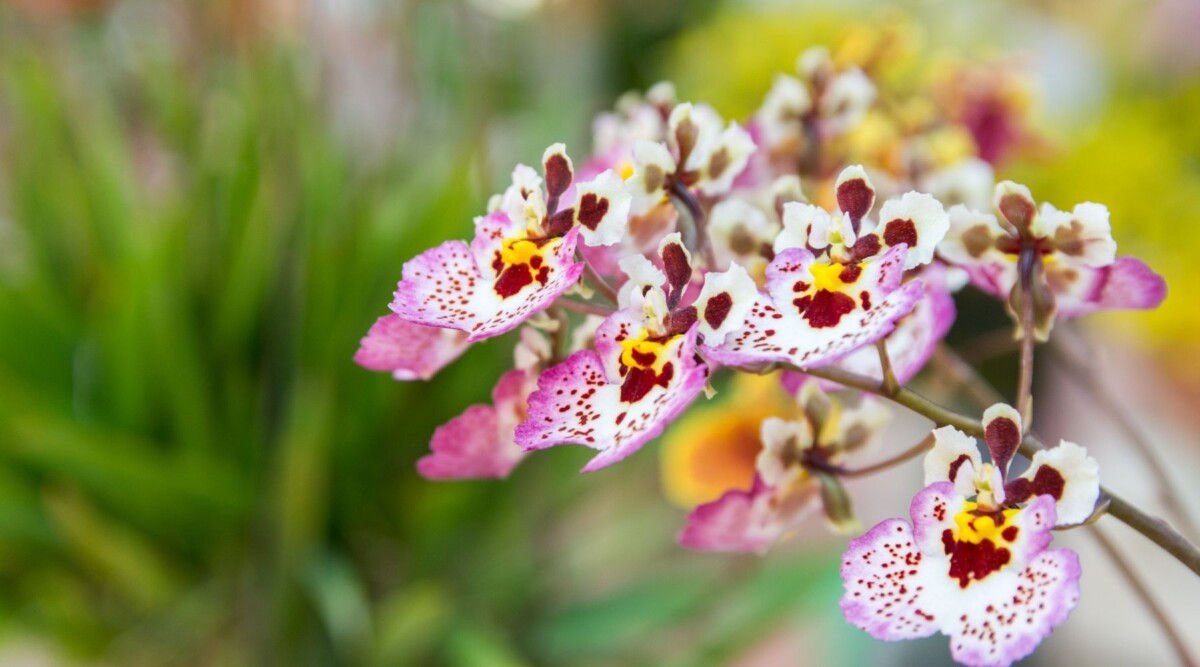
Blooms can range in many shades and colors all over the spectrum. Flowers may be a vibrant, bright red or orange; a dainty pastel pink; or even lavender or cream. They may be solid in color, or they may have interesting markings or unique patterns. The foliage rarely grows more than 6-8 inches (15-20 cm), and blooms are generally produced in short, bouquet-like arrangements.
The size, color, and quantity of blooms will depend on the type or variety of orchids you have and the environment and care you provide. Most tolumnia orchids will bloom around late winter or early spring; however, some varieties can flower throughout the year with the proper care.
The Natural Habitat of Tolumnia Orchids
Knowing and understanding the natural environment in which tolumnia orchids grow is the foundation of good orchid care. The closer you can get to replicating their natural habitat, or the more you can assist them in adapting to the environment you provide, the more successful you will be in growing a robust and healthy plant that blooms more than once a year.
Tolumnia orchids are native to places in and around the Caribbean, including the Bahamas, Cuba, Puerto Rico, and Florida. As an epiphyte, by definition, they can be found growing on the twigs of trees in bright, warm environments where moisture is provided by daily rain showers, heavy dews, or high humidity.
Steady air movement from the trade winds in these areas ensures plants do not remain wet for very long, which helps create an ideal environment in which these elegant flowers can thrive.
Substrate & Other Growing Media
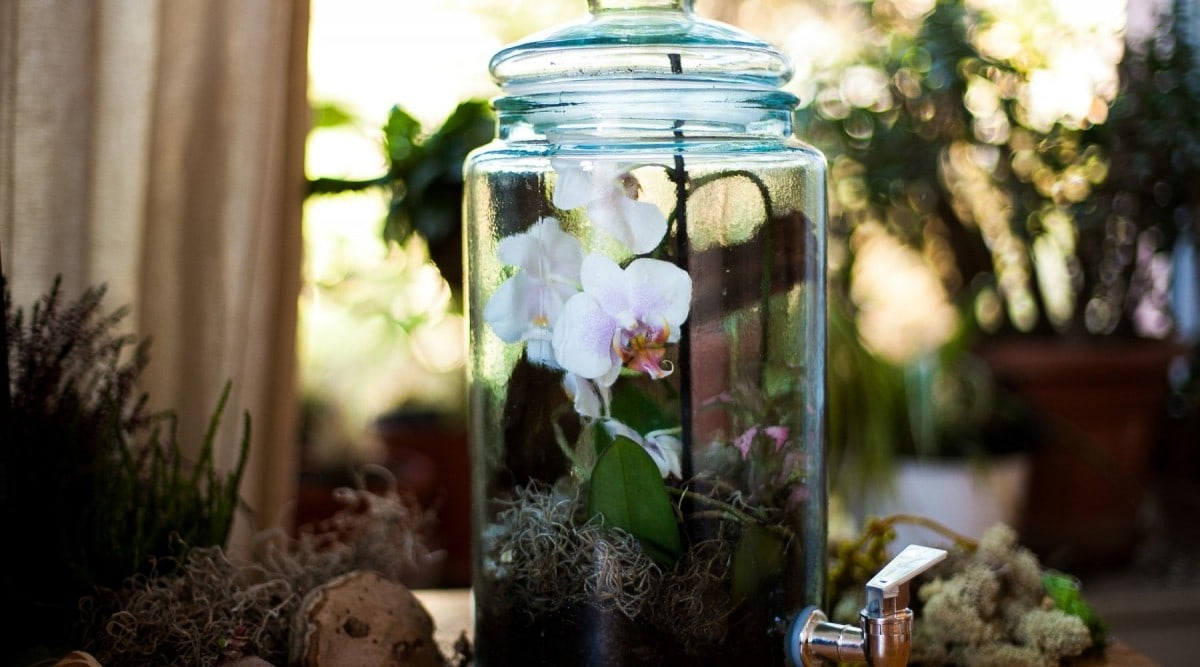
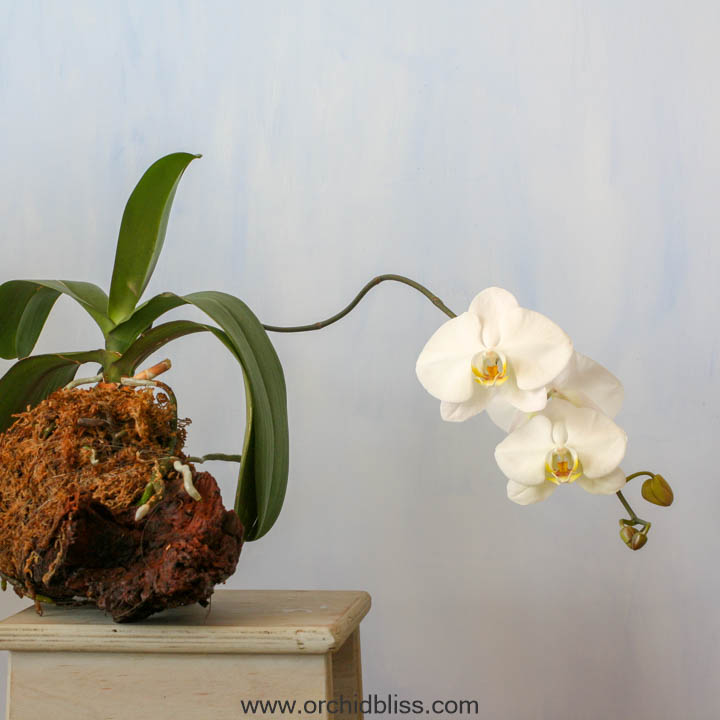
When it comes to substrate and general growing media, you have many options and–more importantly–versatility available. Orchids can be mounted and hung in a tree or potted in a pot; they can be grown in a moss ball–or kokedama style–even in an animal skull or a teacup. You can choose based on personal preference or better suit your care routine, and the decision is completely yours to make. Feel free to be creative!
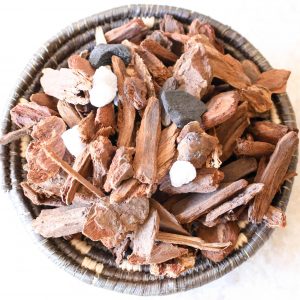
The only rule here is that tolumnias must be grown in a fast-draining substrate. In addition to good irrigation, they must also have sufficient aeration for rapid drying. This is to prevent rotting in the roots. So if you are going to use a substrate of some kind, the key is to use an appropriate substrate, media, or combination for your environment. Popular options include bark, coconut fiber, charcoal, sphagnum moss, and pieces of tree fern.
It is important to note that tolumnia can also grow without substrate. Some growers recommend such specifically for this orchid variety.
Mounting vs. Potting
If you start as a beginner grower, mounting is a great foundational method to grow your tolumnias. Mounting is how nature intended it for many tropical orchids as they are epiphytic and benefit from growing on trees or branches with lengthy, full roots stretching far from the plant.
The roots themselves are vigorous growers that naturally meander about. Mounting your orchid better allows roots the room they require to stretch for a good number of years, as opposed to creating a pot culture, wherein roots will grow past the restraint of the pot and require re-potting more frequently.
Additionally, orchids will droop in nature as they grow, so potted orchid stalks are typically staked to display the blooms better. However, mounting orchids at a higher viewpoint allows the blooms to be seen without the need for staking, and they look as if they would naturally be out in the wild.
Mounting, and certainly remounting, can be troublesome, however, and will require additional tools and materials such as a fishing line and perhaps a drill. Click here if you need assistance figuring out how to mount your tolumnia. If you’re interested, the video below offers a comprehensive tutorial on how to mount tolumnias and other small orchids easily:
https://www.youtube.com/watch?v=D-L0nysFznQ
Mounting will cause roots to dry out quicker than potting. For this reason, orchids displayed this way will need more frequent watering–usually daily–although, if you mist your orchid often, it may lessen the need for such. But if you prefer the less frequent watering option, potting may be a good choice for you.
When creating a pot culture, a 3- to 4-inch (7 to 10 cm) pot is the largest size a plant should be permitted to grow. Around every two years, your tolumnia should reach this size, and you will need to divide and then re-pot it. If you don’t, portions of the plant will start to weaken and decline in health, affecting the rest of the plant via fungal or bacterial rot.
Furthermore, re-potting–or remounting–is best done in spring when new growth begins so the plant can establish itself quickly in its new living quarters.
Choosing a Mounting Media
Whether outdoors among tree branches or indoors on a hardwood slab, the wood should be long-lasting and non-toxic hardwood. Some great options include sassafras, dogwood, white oak, cedar, highbush blueberry, mesquite, and redwood. Citrus, persimmon, and cherry fruit trees are also acceptable.
Mounting kits and tree fern slabs are easy to acquire and use and offer you a lot of control over the creative display. Options such as cork bark or Mopani wood (generally used in terrariums) provide a beautiful, natural appearance and make for a wonderfully unique and eye-catching specimen. Here’s a mounting kit from Etsy.
Materials that should be avoided include:
- Walnut (it is toxic to many plants, including orchids)
- Saltwater driftwood
- Painted woods
- Preserved woods
- Treated woods
- Anything that rots
Proper Light Care
Tolumnia orchids enjoy sunlight and tolerate direct sun in the morning and evening hours. In their natural habitat, they would be exposed to high light conditions and therefore do well receiving direct sunlight in an east-facing window from early until late morning, around 11:00 or 11:30 a.m.
A south-facing window would also be appropriate; however, you will need to protect it from the hot midday sun. For example, you can use a sheer curtain to diffuse the sunlight or move the plant to a nearby table for the afternoon. This is important because too much hot, direct light can cause the plant to get a sunburn.
Tolumnias are quite tenacious, and they will become conditioned to more intense light over time. However, it is recommended to gradually expose them to increased light situations when building their tolerance to avoid burning. This is particularly important to keep in mind when transitioning plants outdoors for summertime.
Note: If you are growing indoors under fluorescent lights, you will also need to provide some incandescent light to compensate for the missing end of the light spectrum to ensure a proper bloom. L.E.D. Grow lights typically offer enough light for proper, healthy growth as well as encourage frequent blooming.
Ideal Temperatures to Maintain
Tolumnias enjoy intermediate temperatures generally ranging from 55-90°F (13-32°C) with a daytime temperature between 70-80°F (21-26°C) as ideal.
These flowers will love being outdoors, provided that night temperatures don’t drop below 50°F (10°C). If climate permits, plants will benefit from summering outdoors if otherwise cultivated under grow lights or on a windowsill.
Keep in mind that if you are growing indoors, to be successful, you must provide a night temperature that is about 40°F (5°C) lower than the daytime temperature.
Humidity Preferences
For normal, healthy growth and development of your tolumnia orchid, a humidity level between 45-70% will suffice. Plants mounted or planted on blocks will desire a higher humidity than pot plants. Air that is too dry will hurt the growth and development of the plant.
It’s important to note that if the temperature rises, the humidity of the air must rise and keep your tolumnias hydrated. Continuing, if the humidity rises, you must ventilate the room or space more often for longer periods to avoid decay or disease. This leads to the next factor in tolumnia orchid care.
NOTE: If your tolumnia is growing poorly, the most likely culprit is the lack of humidity. CLICK HERE to learn easy ways to increase humidity.
The Importance of Air Movement
Proper ventilation and airflow are significant in battling rotting roots, plant decay, sunburn, and various fungal diseases.
The brighter and hotter the light–whether grow lights or sunlight–the more flow is needed to help cool the air around the plant to avoid burning. If you see freckling or blushing on the foliage, this is normal when subjected to bright light; however, if the foliage becomes a dark red/purple color, this is a sign of burning, and you should move your tolumnia into less light.
Additionally, as it was just mentioned, the higher the humidity in the air, the more movement of the air we must have to assist in wicking away excess moisture from the orchid.
If your tolumnia is kept wet for too long, there is a high probability of disease, decay, or root rot. At the very least, these occurrences may leave a visual blight on your orchids. But beyond that, they will weaken the plant, causing blooming issues, if not kill the orchid completely.
Best Watering Practices
Proper watering is the most important factor in successfully caring for tolumnia orchids. How often you water–and how much water you use–will vary based on your environment’s conditions. Additionally, as has already been discussed, when conditions change, the watering needs of your tolumnia will change as well. Every other day, your orchid might need water; it might be once a week.
Keep an eye on new plants for the first couple of weeks to determine your watering routine. Continually observe changes in the environment, as this will also affect your schedule frequency.
Rainwater is the ideal choice when watering your orchids as this is what nature provides, but the water that has been distilled utilizing reverse osmosis is also good.
Roots should be allowed to dry completely between waterings. Leaves should also not remain wet for extended periods and be given a chance to dry off as well. Watering in the morning is recommended to allow for thorough drying of the roots and leaves by evening.
Daily watering is often required when growing on slabs or blocks. If this doesn’t fit your schedule, daily watering may be extended to every other day by incorporating a moisture-absorbing material such as coconut fiber or sphagnum moss.
If your orchids are potted, ensure that excess water is flowing freely out of the pot as stagnant water can rapidly lead to rotting. It requires you to frequently watch for signs of proper drying or unwanted moisture retention.
Improper watering often causes a host of problems, resulting in an unhealthy orchid. To avoid these pitfalls, click here to grab your cheat sheet to learn how to grow healthier orchids. It will be super helpful.
How to Water Orchids That Are Outdoors
Keep in mind that drying will occur quicker if your orchid is outdoors versus perched on a windowsill with enhanced humidity. In the same way, damp, cloudy days cause drying to occur much slower than sunny and breezy days.
When the days are hot in the summertime, it is recommended to mist your orchid plant–not the roots per se–with water. This will help the plant better endure the heat by increasing the humidity of the air.
Avoid misting during peak heat times; rather, do it earlier in the first half of the day. This way, the orchid has a chance to dry sufficiently by evening. Misting in the morning hours will also help prevent water from collecting in the leaf bases, which heat up in midday temperatures and essentially cook the plant causing severe tissue damage, particularly in younger plants.
Fertilizing
In nature, plants are supplied with nutrients from decaying plant and animal matter every time it rains. The more tropical climates in which tolumnias are native provide these supplemental frequently and well-diluted. Ergo, it would behoove you to also supply your orchid with frequent, diluted treatments of fertilizer (and it is the preferred approach for cultivated plants).
Professionals in cultivating recommend fertilizing anywhere from every two to five waterings. This ranges due to multiple factors, including the type of orchid you have, the plant’s age, environmental conditions, whether tap or rainwater is used, and which fertilizer you choose. This will require a little research into specific fertilizers that interest you to determine what is best for you and the environment you are providing for your tolumnia.
Tips for Re-Blooming
Tolumnia orchids are one of the varieties that will re-bloom off of established inflorescences after initial flowering. Once blooms start to die, do not cut them off. More often than not, you will see a supplemental bloom spike appear in the upper portion of the original bloom spike.
Additionally, you can increase the life of your blooms by increasing the humidity in the air around your plant. This will also mean less watering on your part.
Resting Periods
Tolumnias need a defined resting period during the year wherein they are kept drier than normal to stimulate flowering. Fertilizer should not be used during this time, either. The four winter months are when nature provides this rest, and that is when you should as well.
When growing the orchid on a substrate, you will need to replace regular watering with light spraying or misting of water instead. Typically, this should be done no more than once every three or four weeks. Orchids on blocks will require this once every ten to fifteen days. Once peduncles appear, consider the resting period sufficient and resume watering per best practices following your normal routine.
Discouraging Pests, Disease, and Other Problems
Fungus and insects are the two most dangerous threats to orchids that can quickly take over the plant if you leave problems unattended for too long. And don’t worry: the solution to this is not to use dangerous chemicals or popular commercial pesticides.
If you have provided the proper bright, humid, and airy culture that tolumnias prefer, that alone should keep most disease problems at bay. However, you may still encounter mealybugs, scale insects, or aphids on the inflorescence you will want to address. This may be especially true if the orchid spends time outside, so be sure to carefully inspect these creatures any time you transition your orchid indoors.
If you do come across these annoying pests, remove them simply by saturating a cotton swab with rubbing alcohol and gently wipe them away and off the plant. Be sure to cover all areas of the orchid thoroughly to find any pests that may be hidden. If the orchid is potted, you will want to re-pot to remove any pest eggs. Don’t forget to gently spray and clean the roots to clear out anything hiding among them.
Rubbing alcohol will dry out your tolumnia slightly, so you may need to make some watering and perhaps airflow adjustments to compensate for this.
Natural Pesticides Safe for Orchids
For larger infestations or to safeguard against such, you may wish to try some natural pesticides to combat the issue. Regardless of what you choose, any pest treatment should be repeated every seven to ten days to kill off all generations of the infestation effectively. Depending on how serious the problem is, you may need to apply treatment up to three or four times to succeed.
- Cinnamon: This spice may smell and taste great to us in our apple cobbler, but cinnamon will discourage pests from feasting upon your orchids. Additionally, cinnamon oil has been scientifically proven to hinder the growth of fungi and bacteria. To use, mix cinnamon powder with Elmer’s school glue and apply it to the affected area.
- Eucalyptus oil: Eucalyptus is a popular oil that you may already have in a cabinet somewhere in your house, as this Australian native ingredient is used for various purposes, including pharmaceutical and antiseptic. But you may not know that it also makes for an excellent organic insect repellant and protects against various fungi as well. To use, mix 1 tsp eucalyptus oil and 1/2 tsp dish soap with 2 cups of water, add it to a spritzer, and mist to kill orchid pests such as scale, mealybugs, and mites. After applying, place the orchid in the shade until the treatment dries to prevent sunburn. Use care and test on a small area as the plant tissue is sensitive.
- Neem oil: From a well-known evergreen in the Indian subcontinent, neem oil is celebrated for its astringent and antifungal efficiencies. It is a light, non-toxic, natural repellent that works against spider mites, aphids, and more. To use, mix 1 tsp neem oil and 1/2 tsp dish soap in 1 gallon of water. Allow the application to dry in shade to prevent sunburn. Test on a small area as the plant tissue may be sensitive.
Conclusion
Providing complete and comprehensive care for tolumnia orchids requires proper lighting, temperature, humidity, watering, airflow, and fertilization. One must also allow for a sufficient resting period to stimulate flowering. But with keen observation and utilizing this guide, enjoying tolumnia orchids year-round can be done.
Related articles
Sources
- Carter and Holmes Orchids: Tolumnia Care Sheet
- American Orchid Society: Tolumnia (Equitant Oncidiums) Culture Sheet
- Guna Orchids: How to Grow: Tolumnia Orchid Care
- Orchid Web: Tolumnia Orchid Care
- Travaldo’s Blog: Grow and care Tolumnia orchid
- Orchid Bliss: The Complete Guide to Mounting Orchids
- Just Add Ice Orchids: 4 Natural Ways to Insect and Fungus Proof your Orchids
- Natural News Blogs: Orchids and Alcohol: D.I.Y. Pest Control For Orchid Pests
- Orchid Care Tips: Mounting Orchids
- Farm Forage: Substrate for Orchids

